v1.0 (published 25 April 2022)
This guide is for educational purposes only
The instructions below are about making a crosswalk that looks as legitimate as possible, to create as safe an environment for pedestrians as possible, ensure that the crosswalk lasts as long as possible, and reduce the likelihood that it is removed by local authorities. This guide also aims to ensure that painting is done while prioritizing the safety of the participants and that of passing drivers and bystanders.
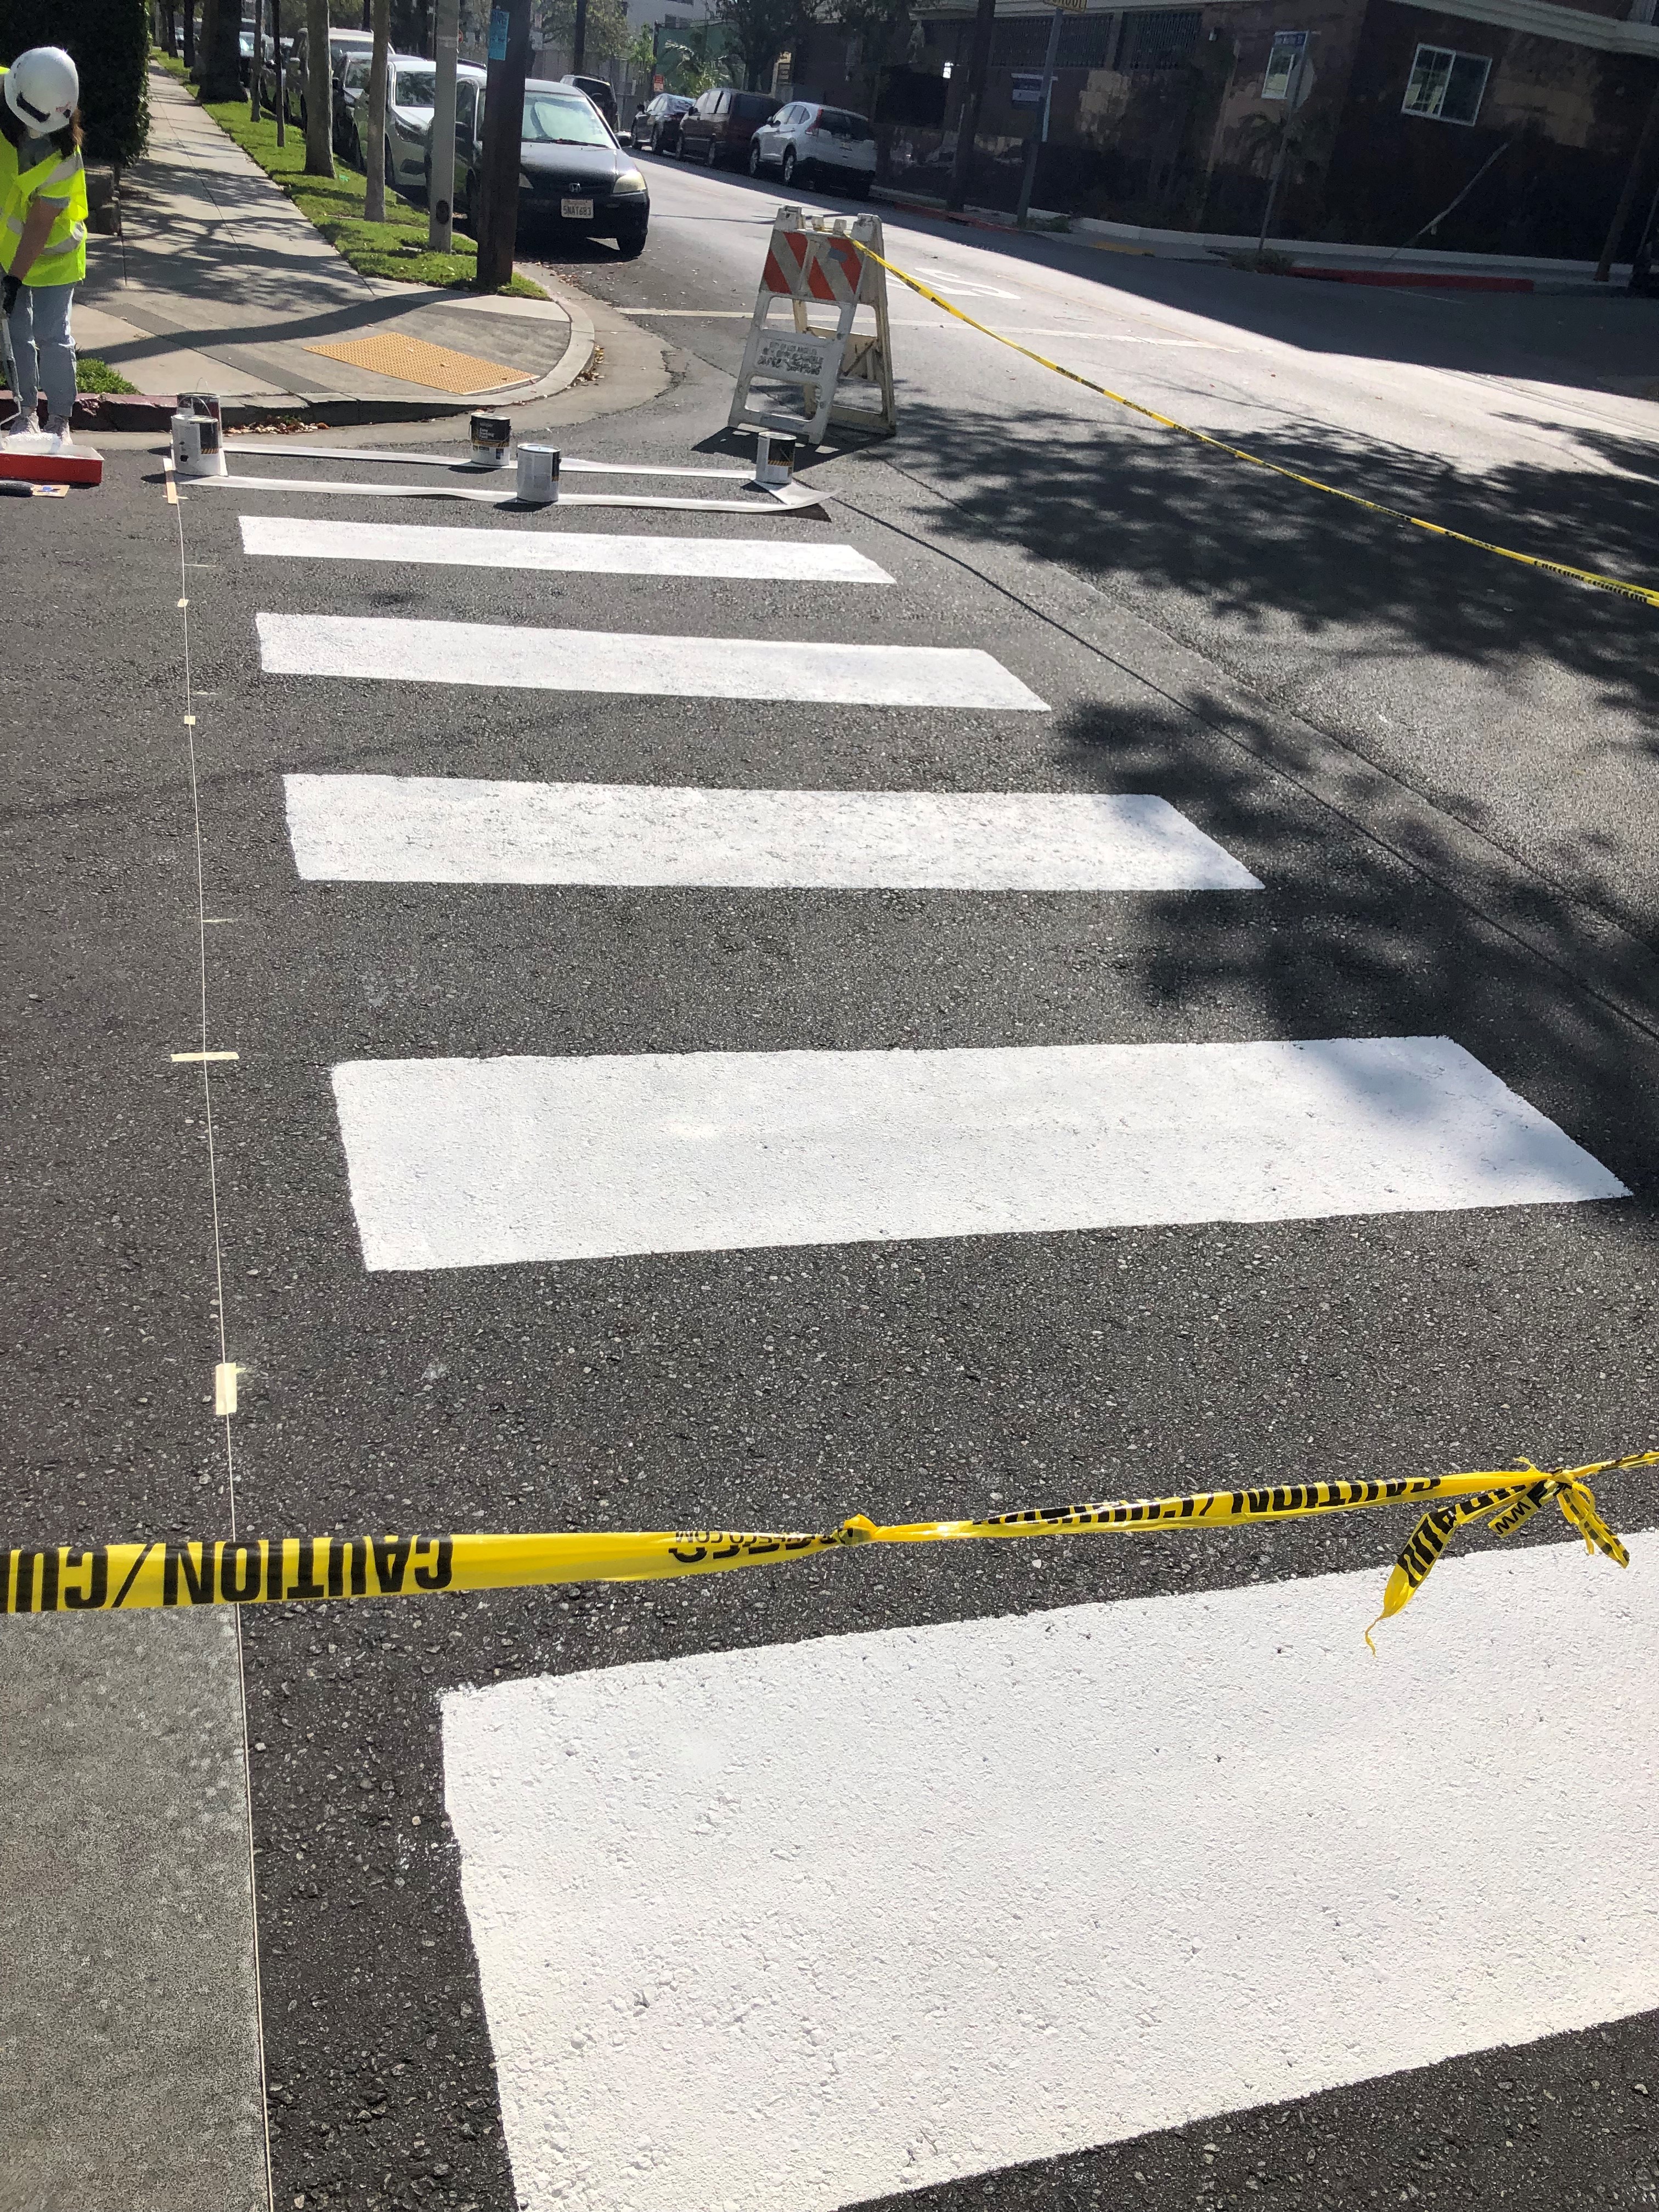
One regular crosswalk (eight bars across) will take 90 minutes to 2 hours, including drying time.
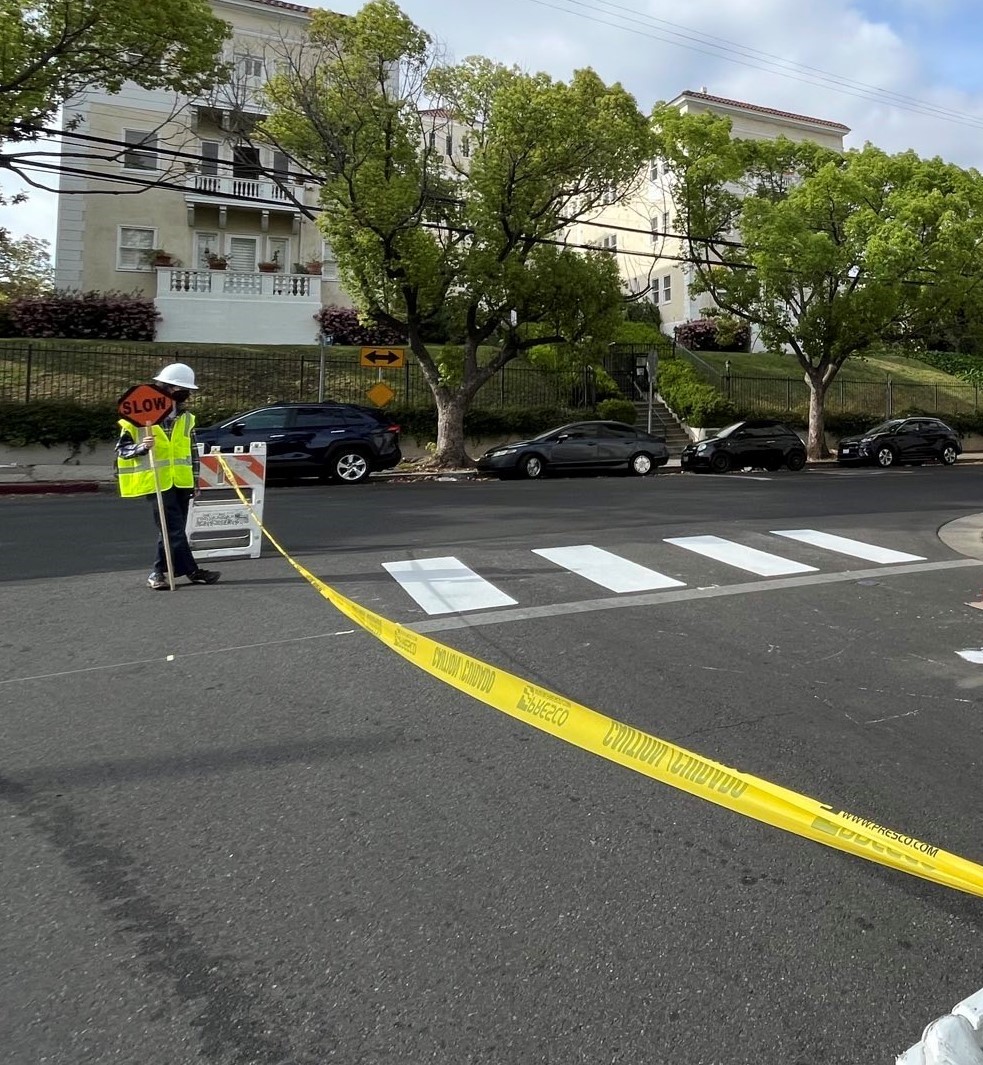
At least four people, but preferably five or six: two or three to measure, hold the stencil, and paint; and two or three to do traffic control.
These vary but many standard crosswalks are 2 feet x 15 feet, with 3 feet between crosswalk bars. Due to stencil availability and our capacity as a small team, our crosswalk bars are 2 feet x 7.5 feet. Shorter crosswalk bars are fine for small streets and require less time and paint. But for a bigger road, you’ll likely want a longer crosswalk bar.
Other than ensuring a need for a crosswalk, there are several factors to consider when selecting an intersection for your crosswalk:
More than likely, you will have only positive interactions with members of the community. The vast majority of people are happy to see a crosswalk going in. Be friendly, polite, and respectful.
Block off half the street using traffic cones or barricades and caution tape. You will paint half the crosswalk, let it dry, then reopen that half of the street and block off the next half. At least two people, preferably three, should carefully manage traffic.
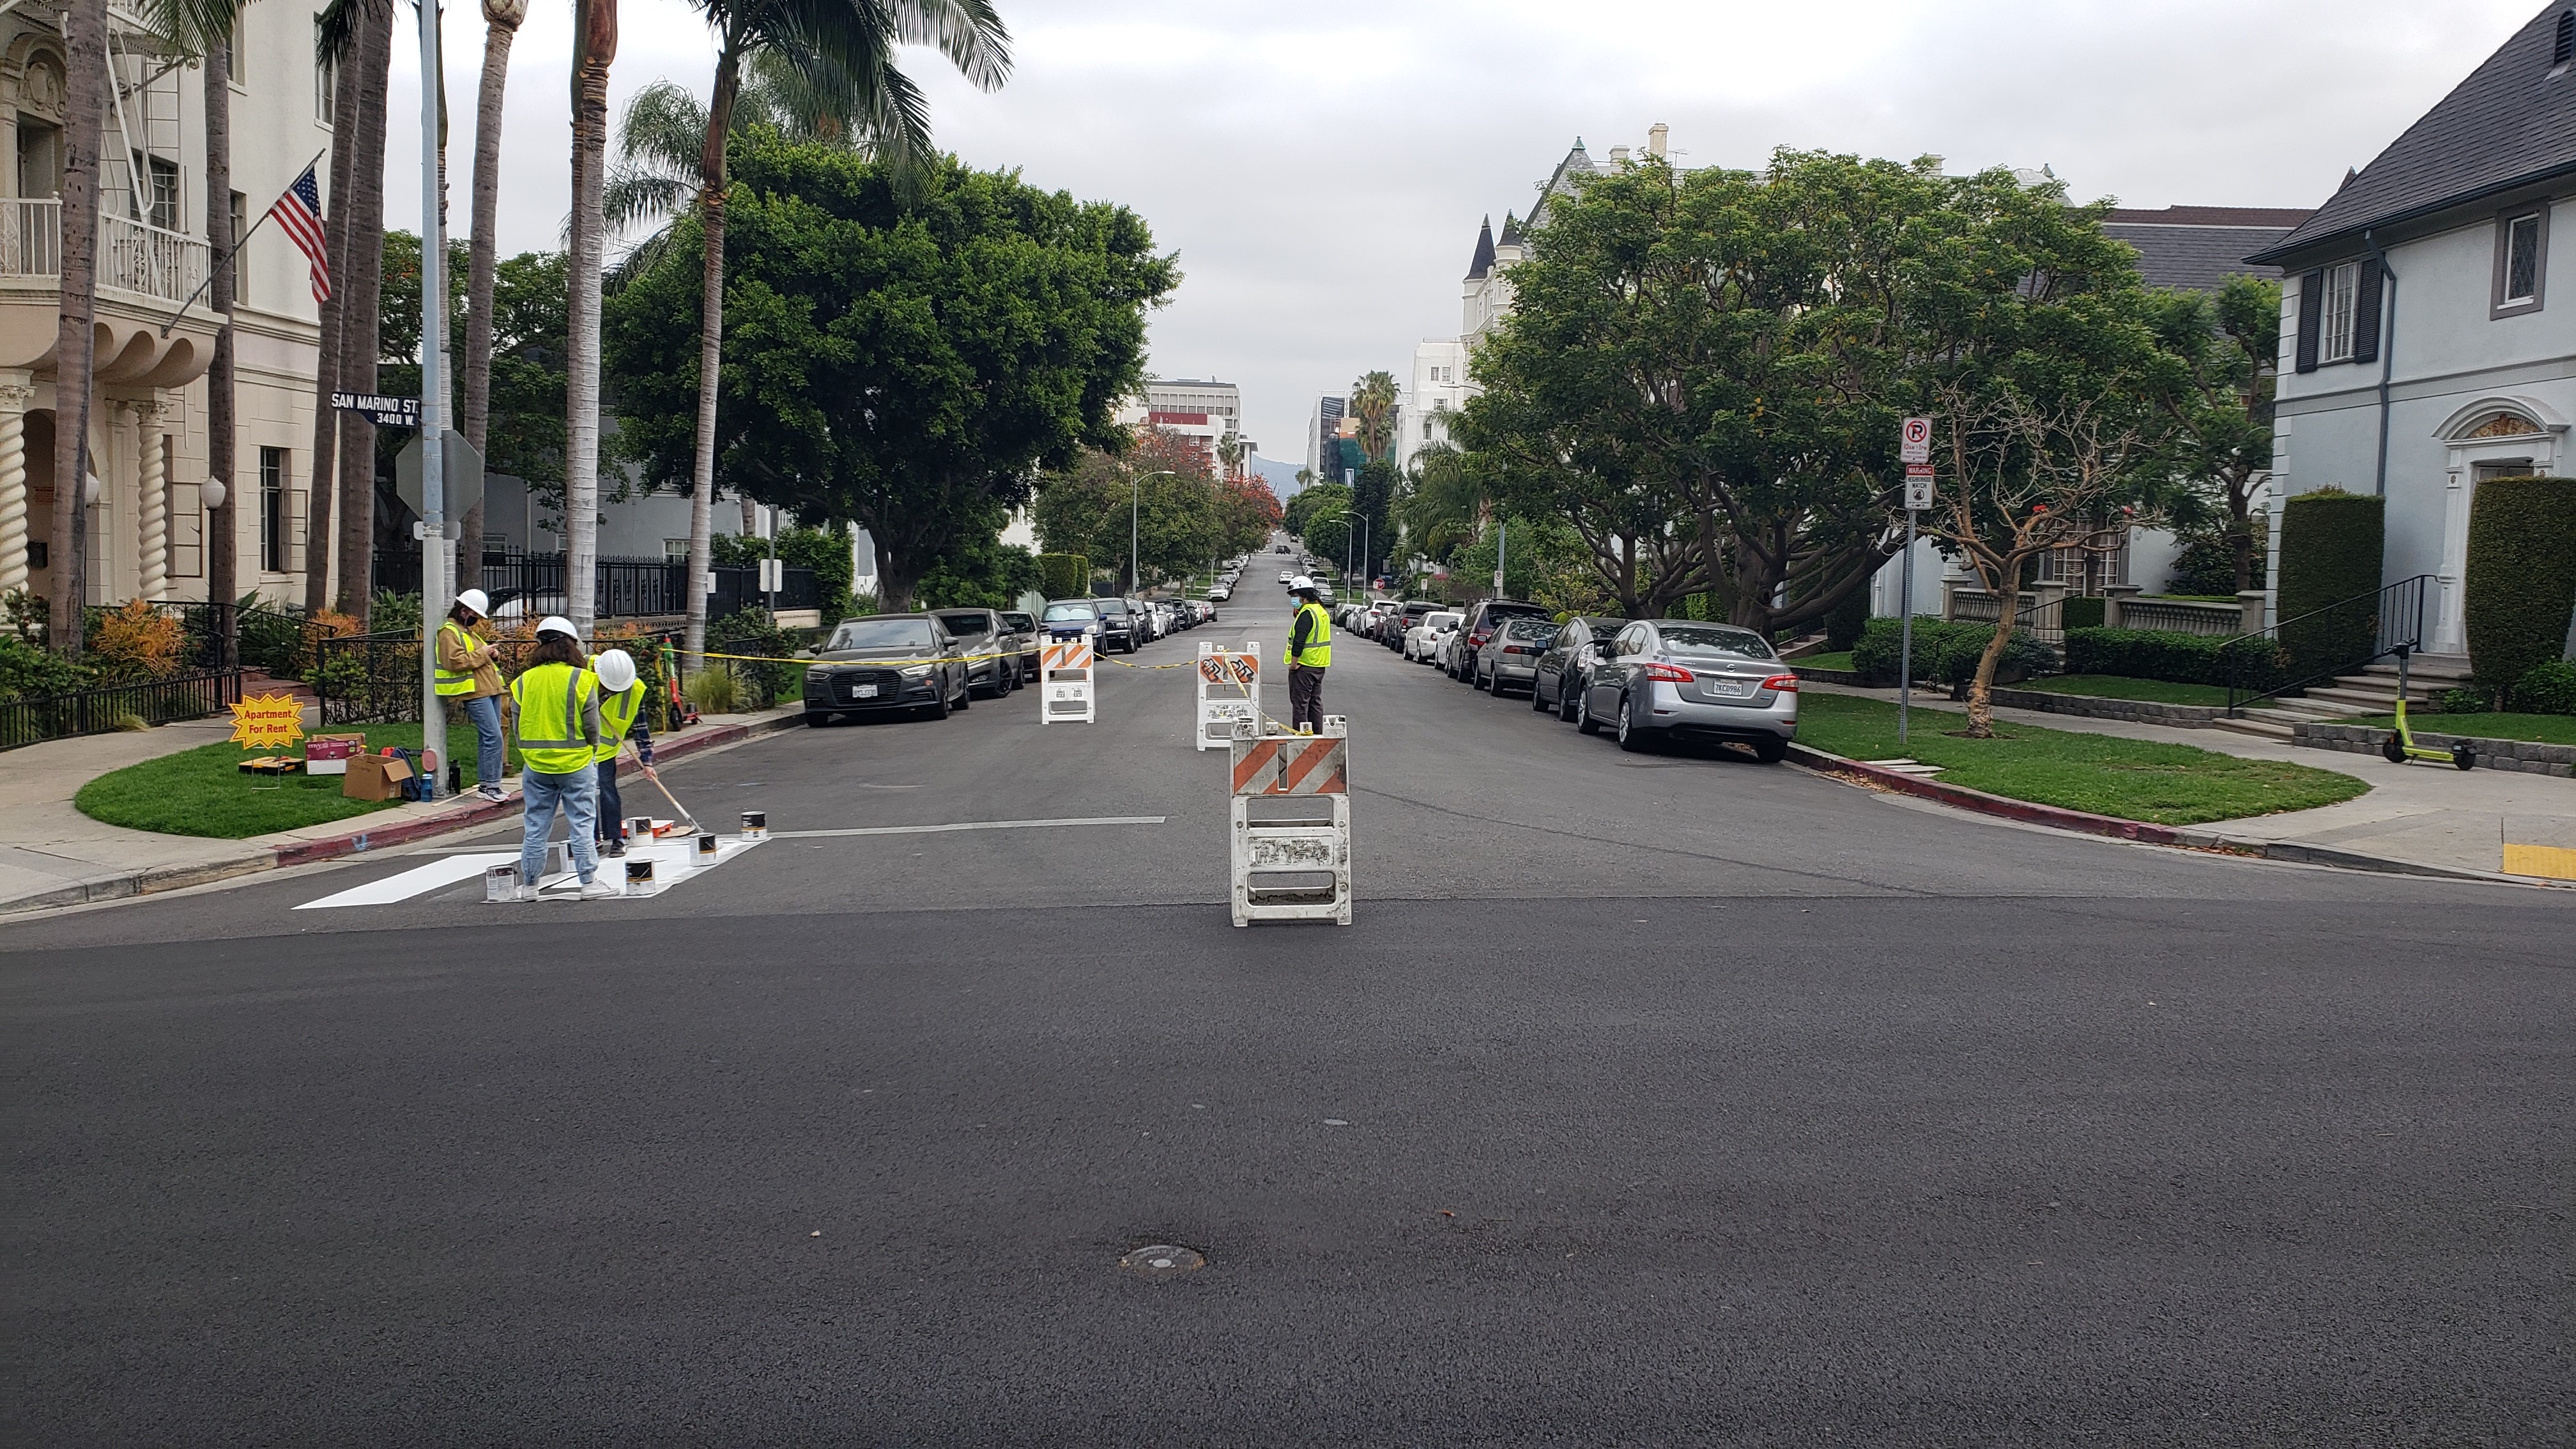
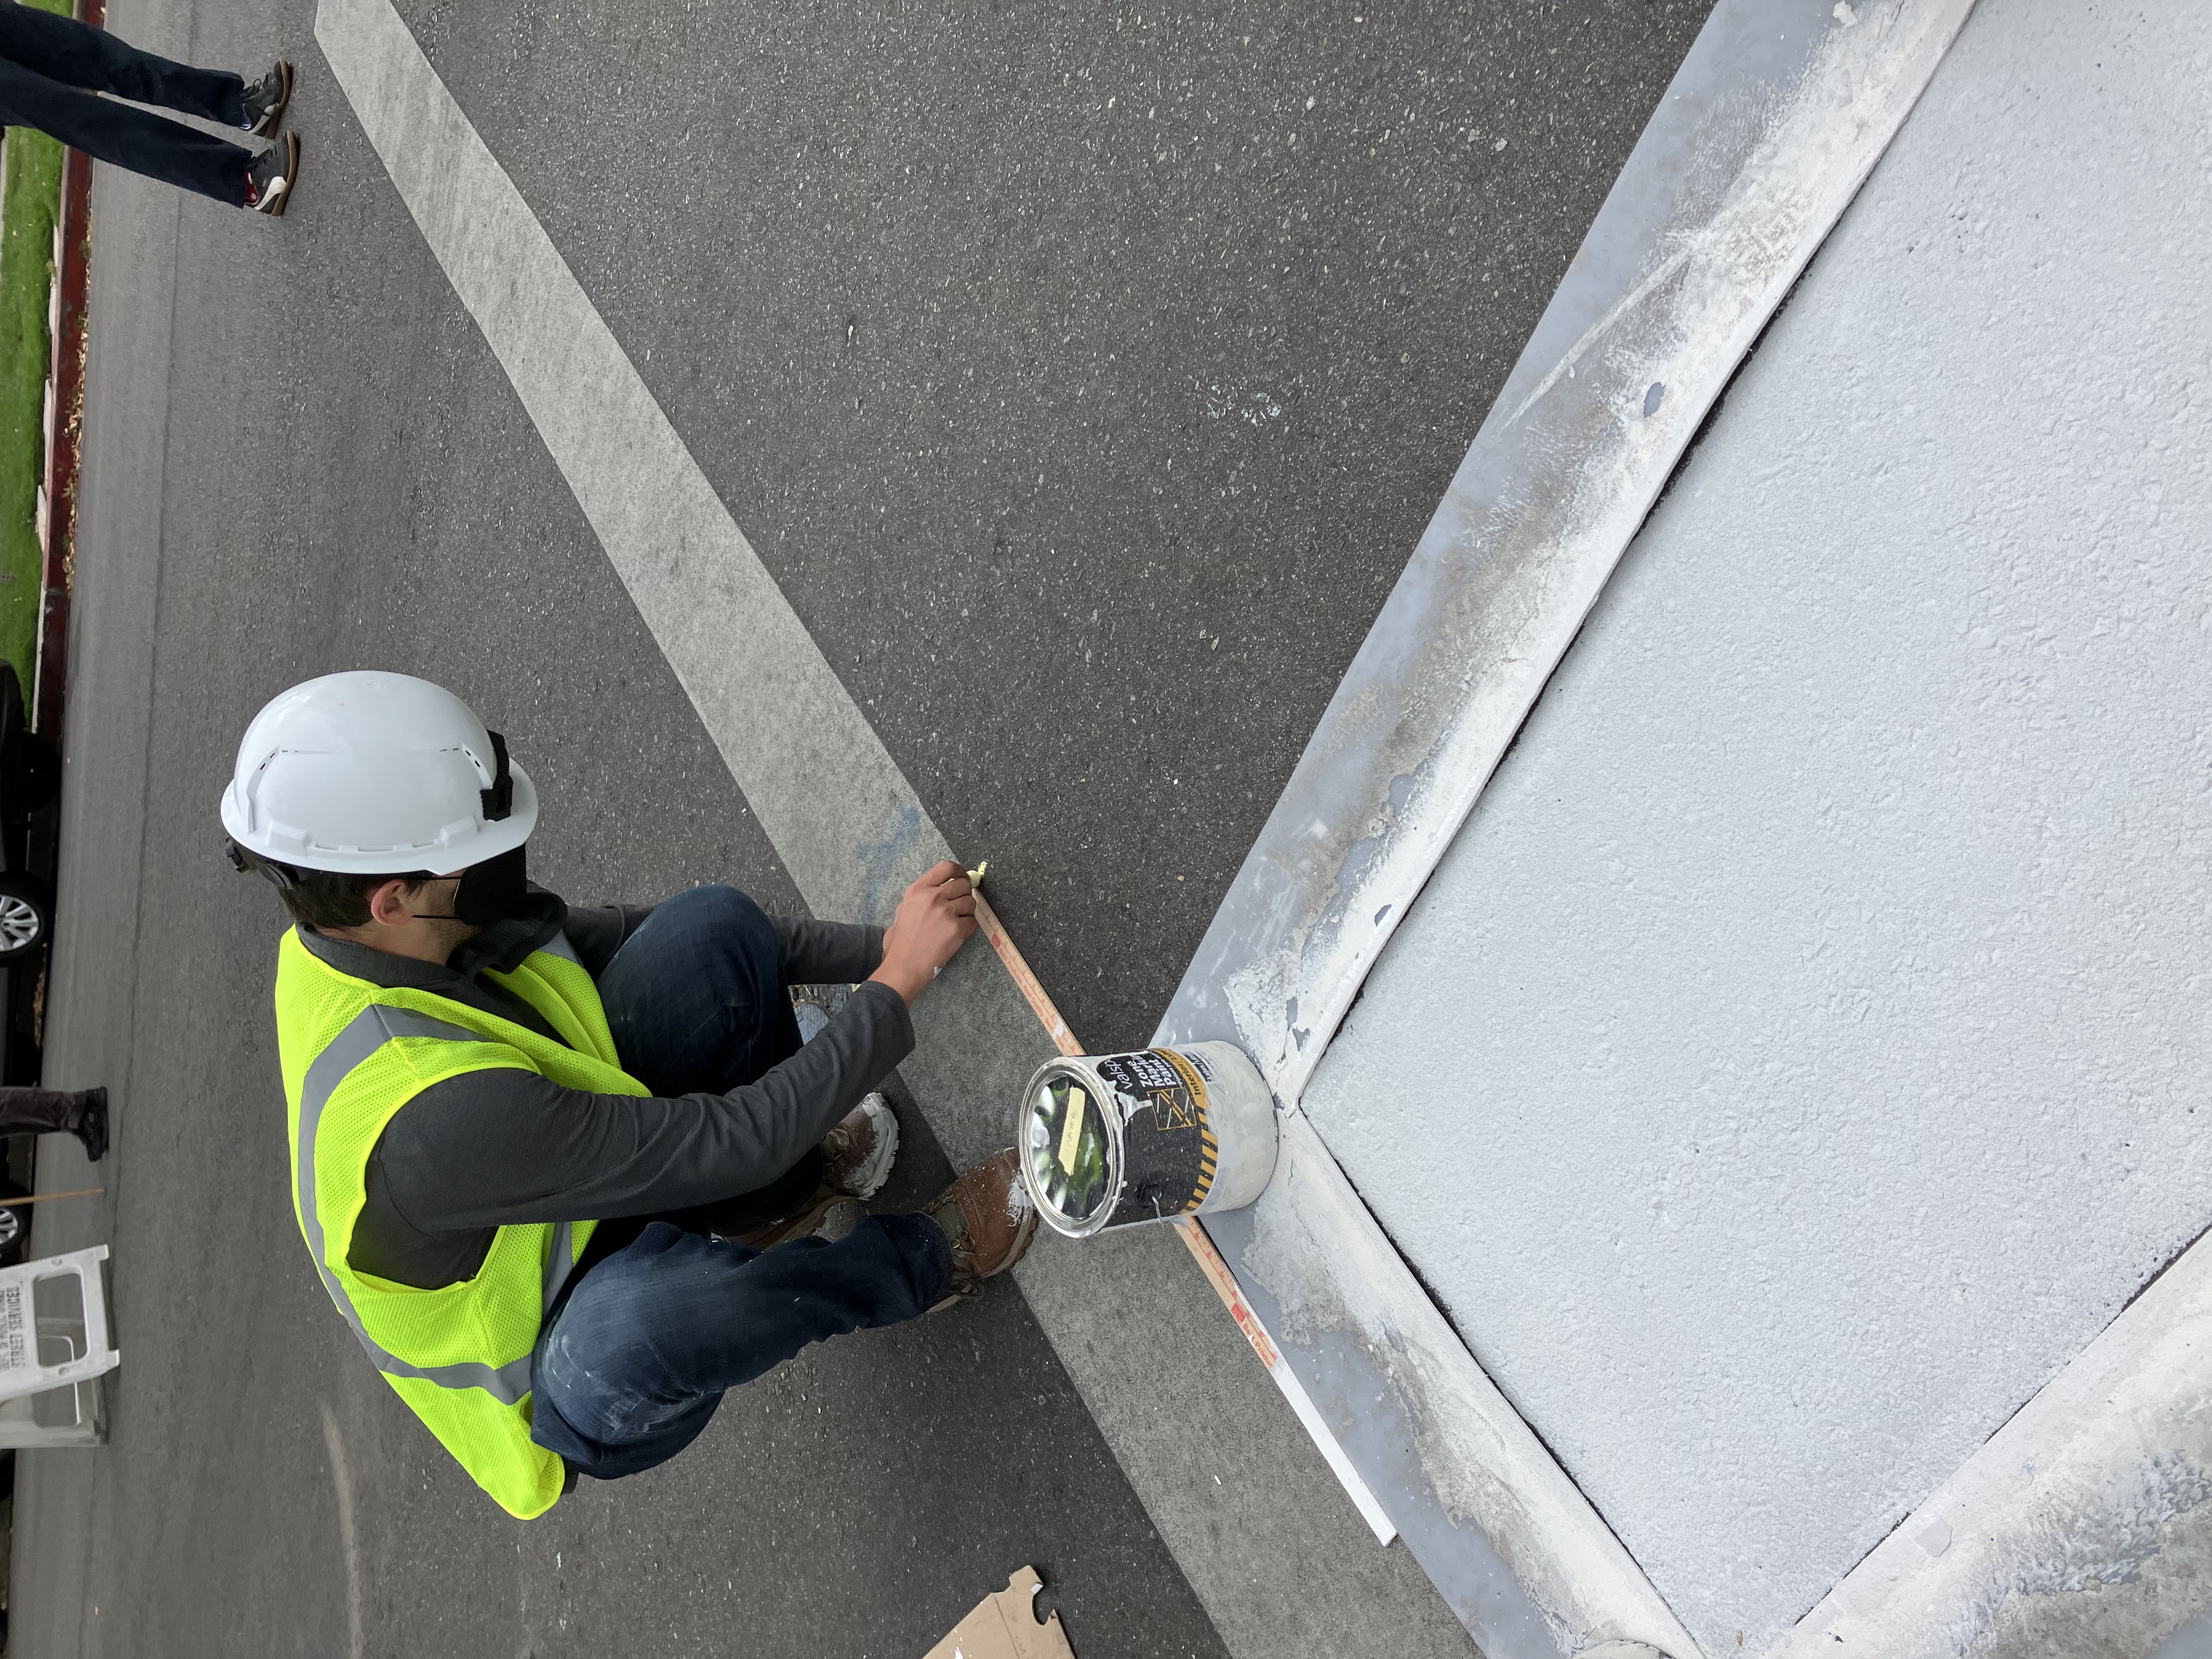
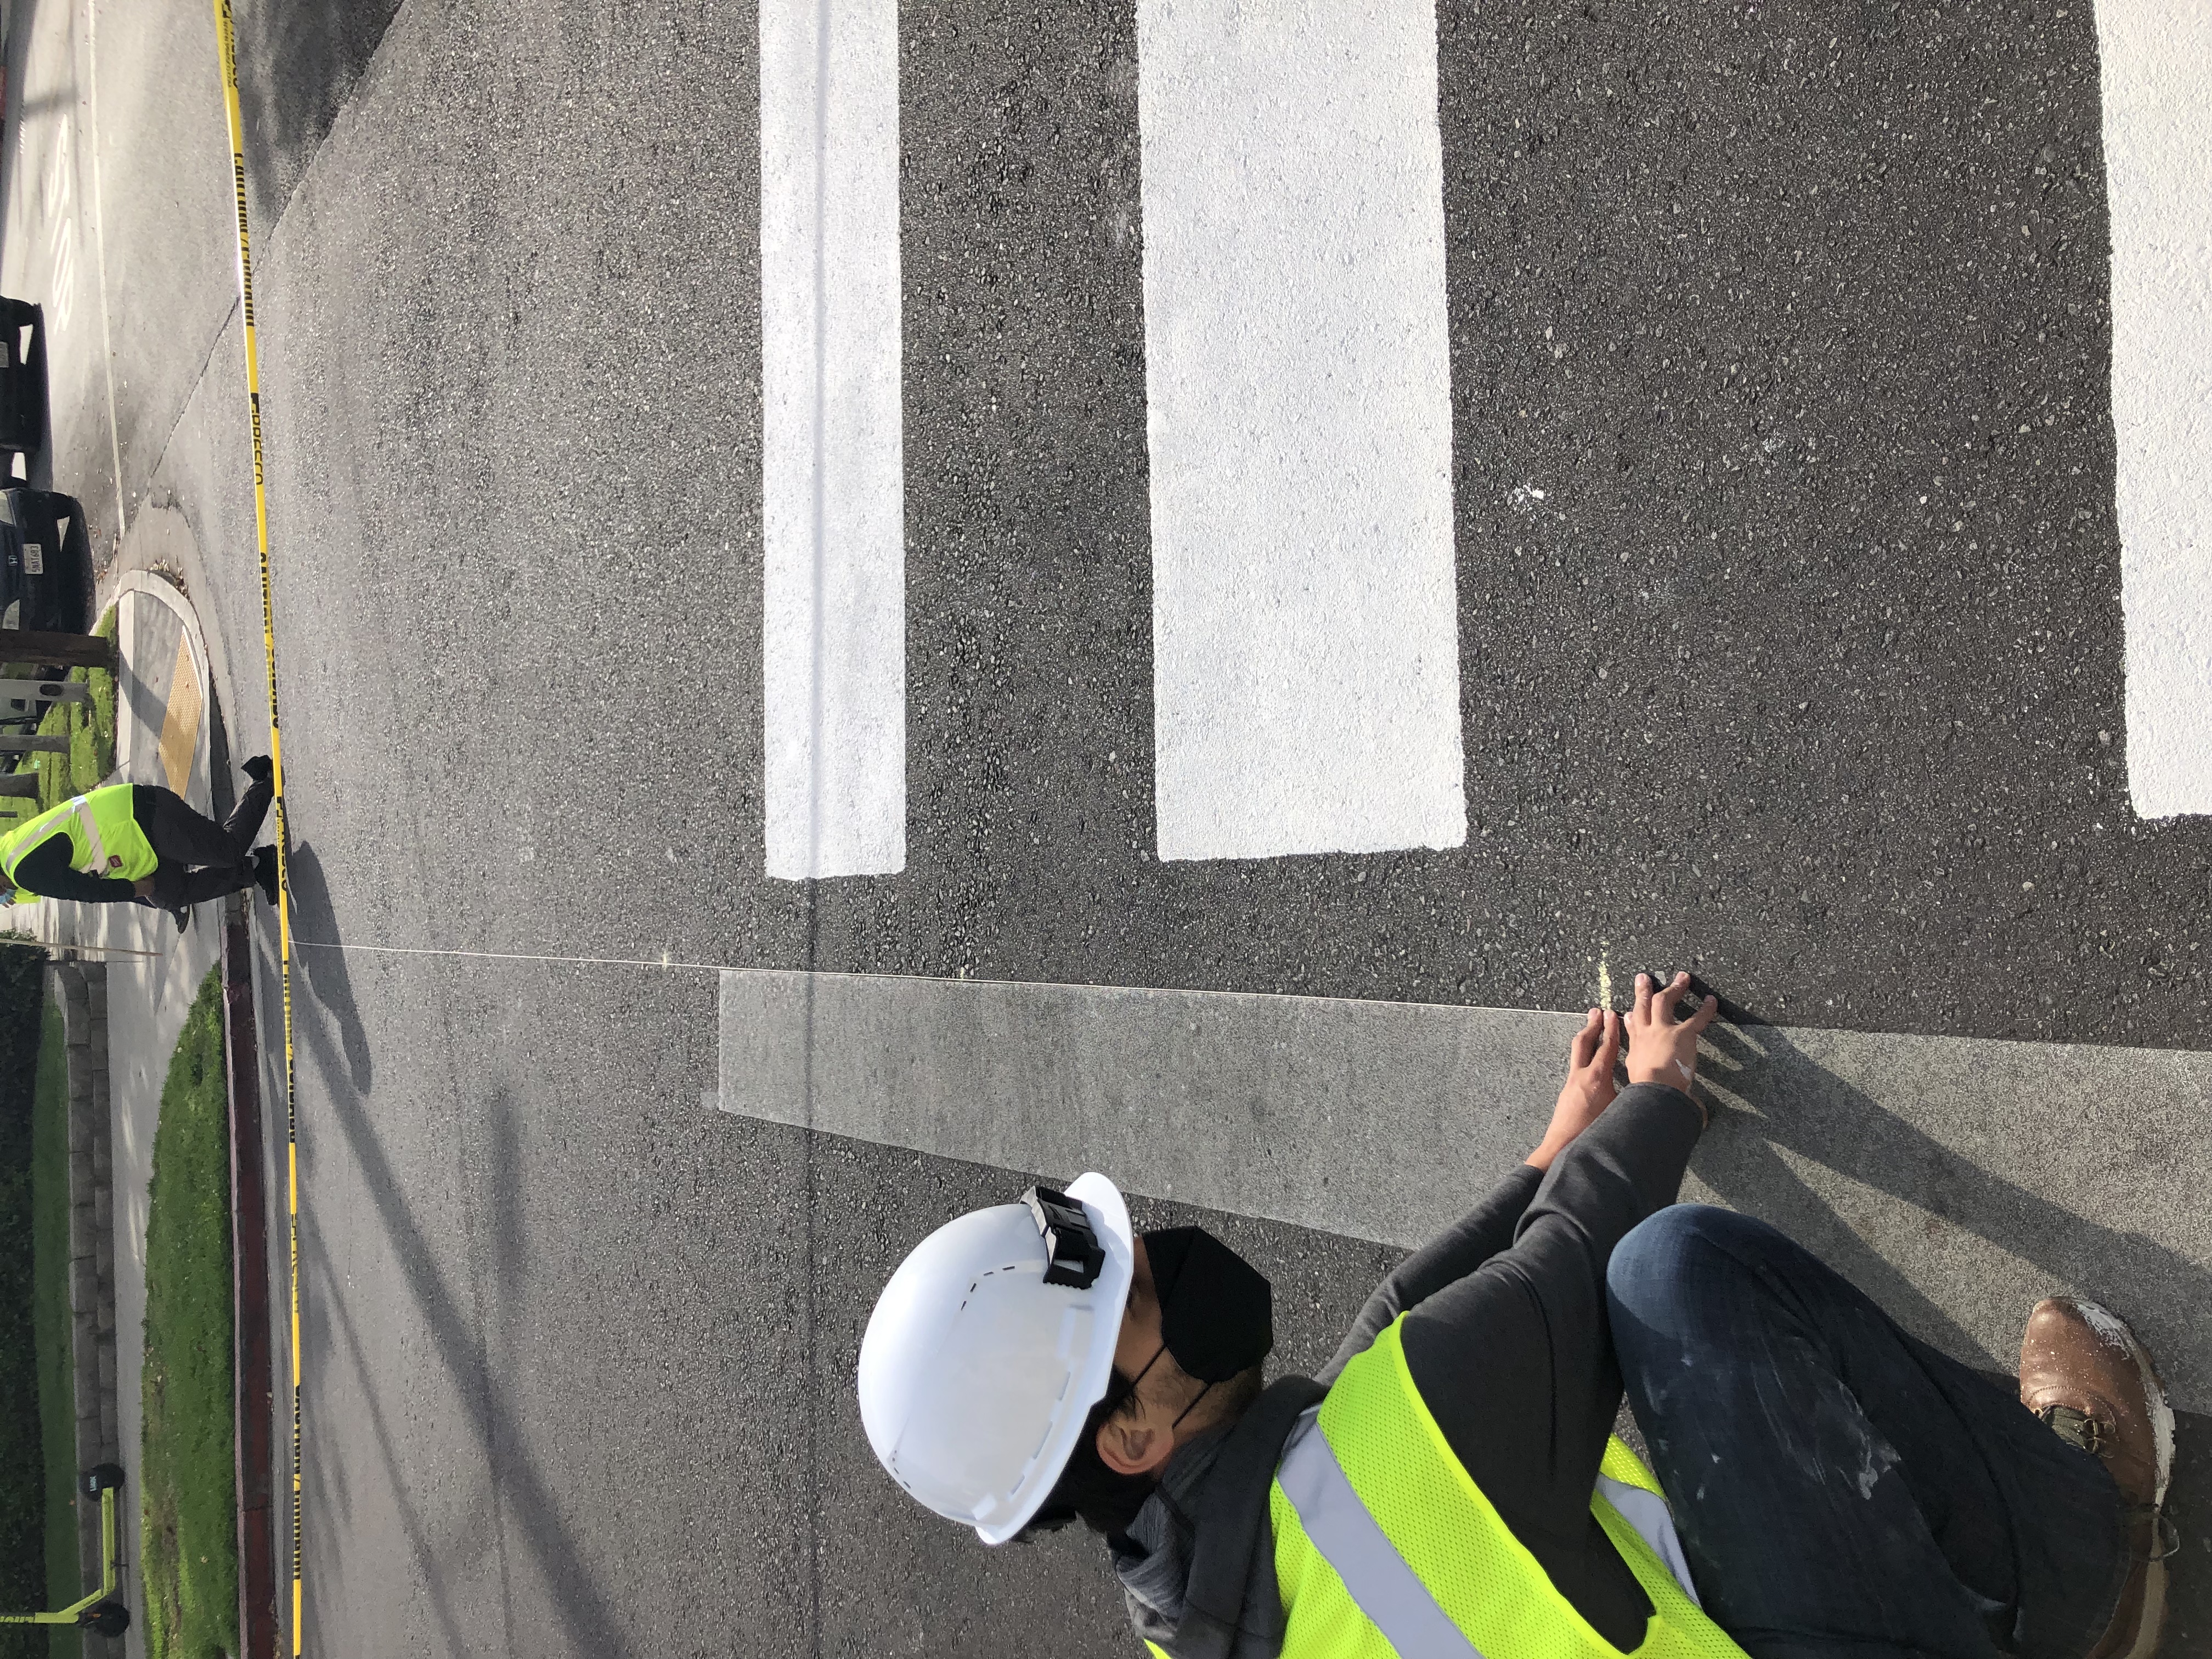
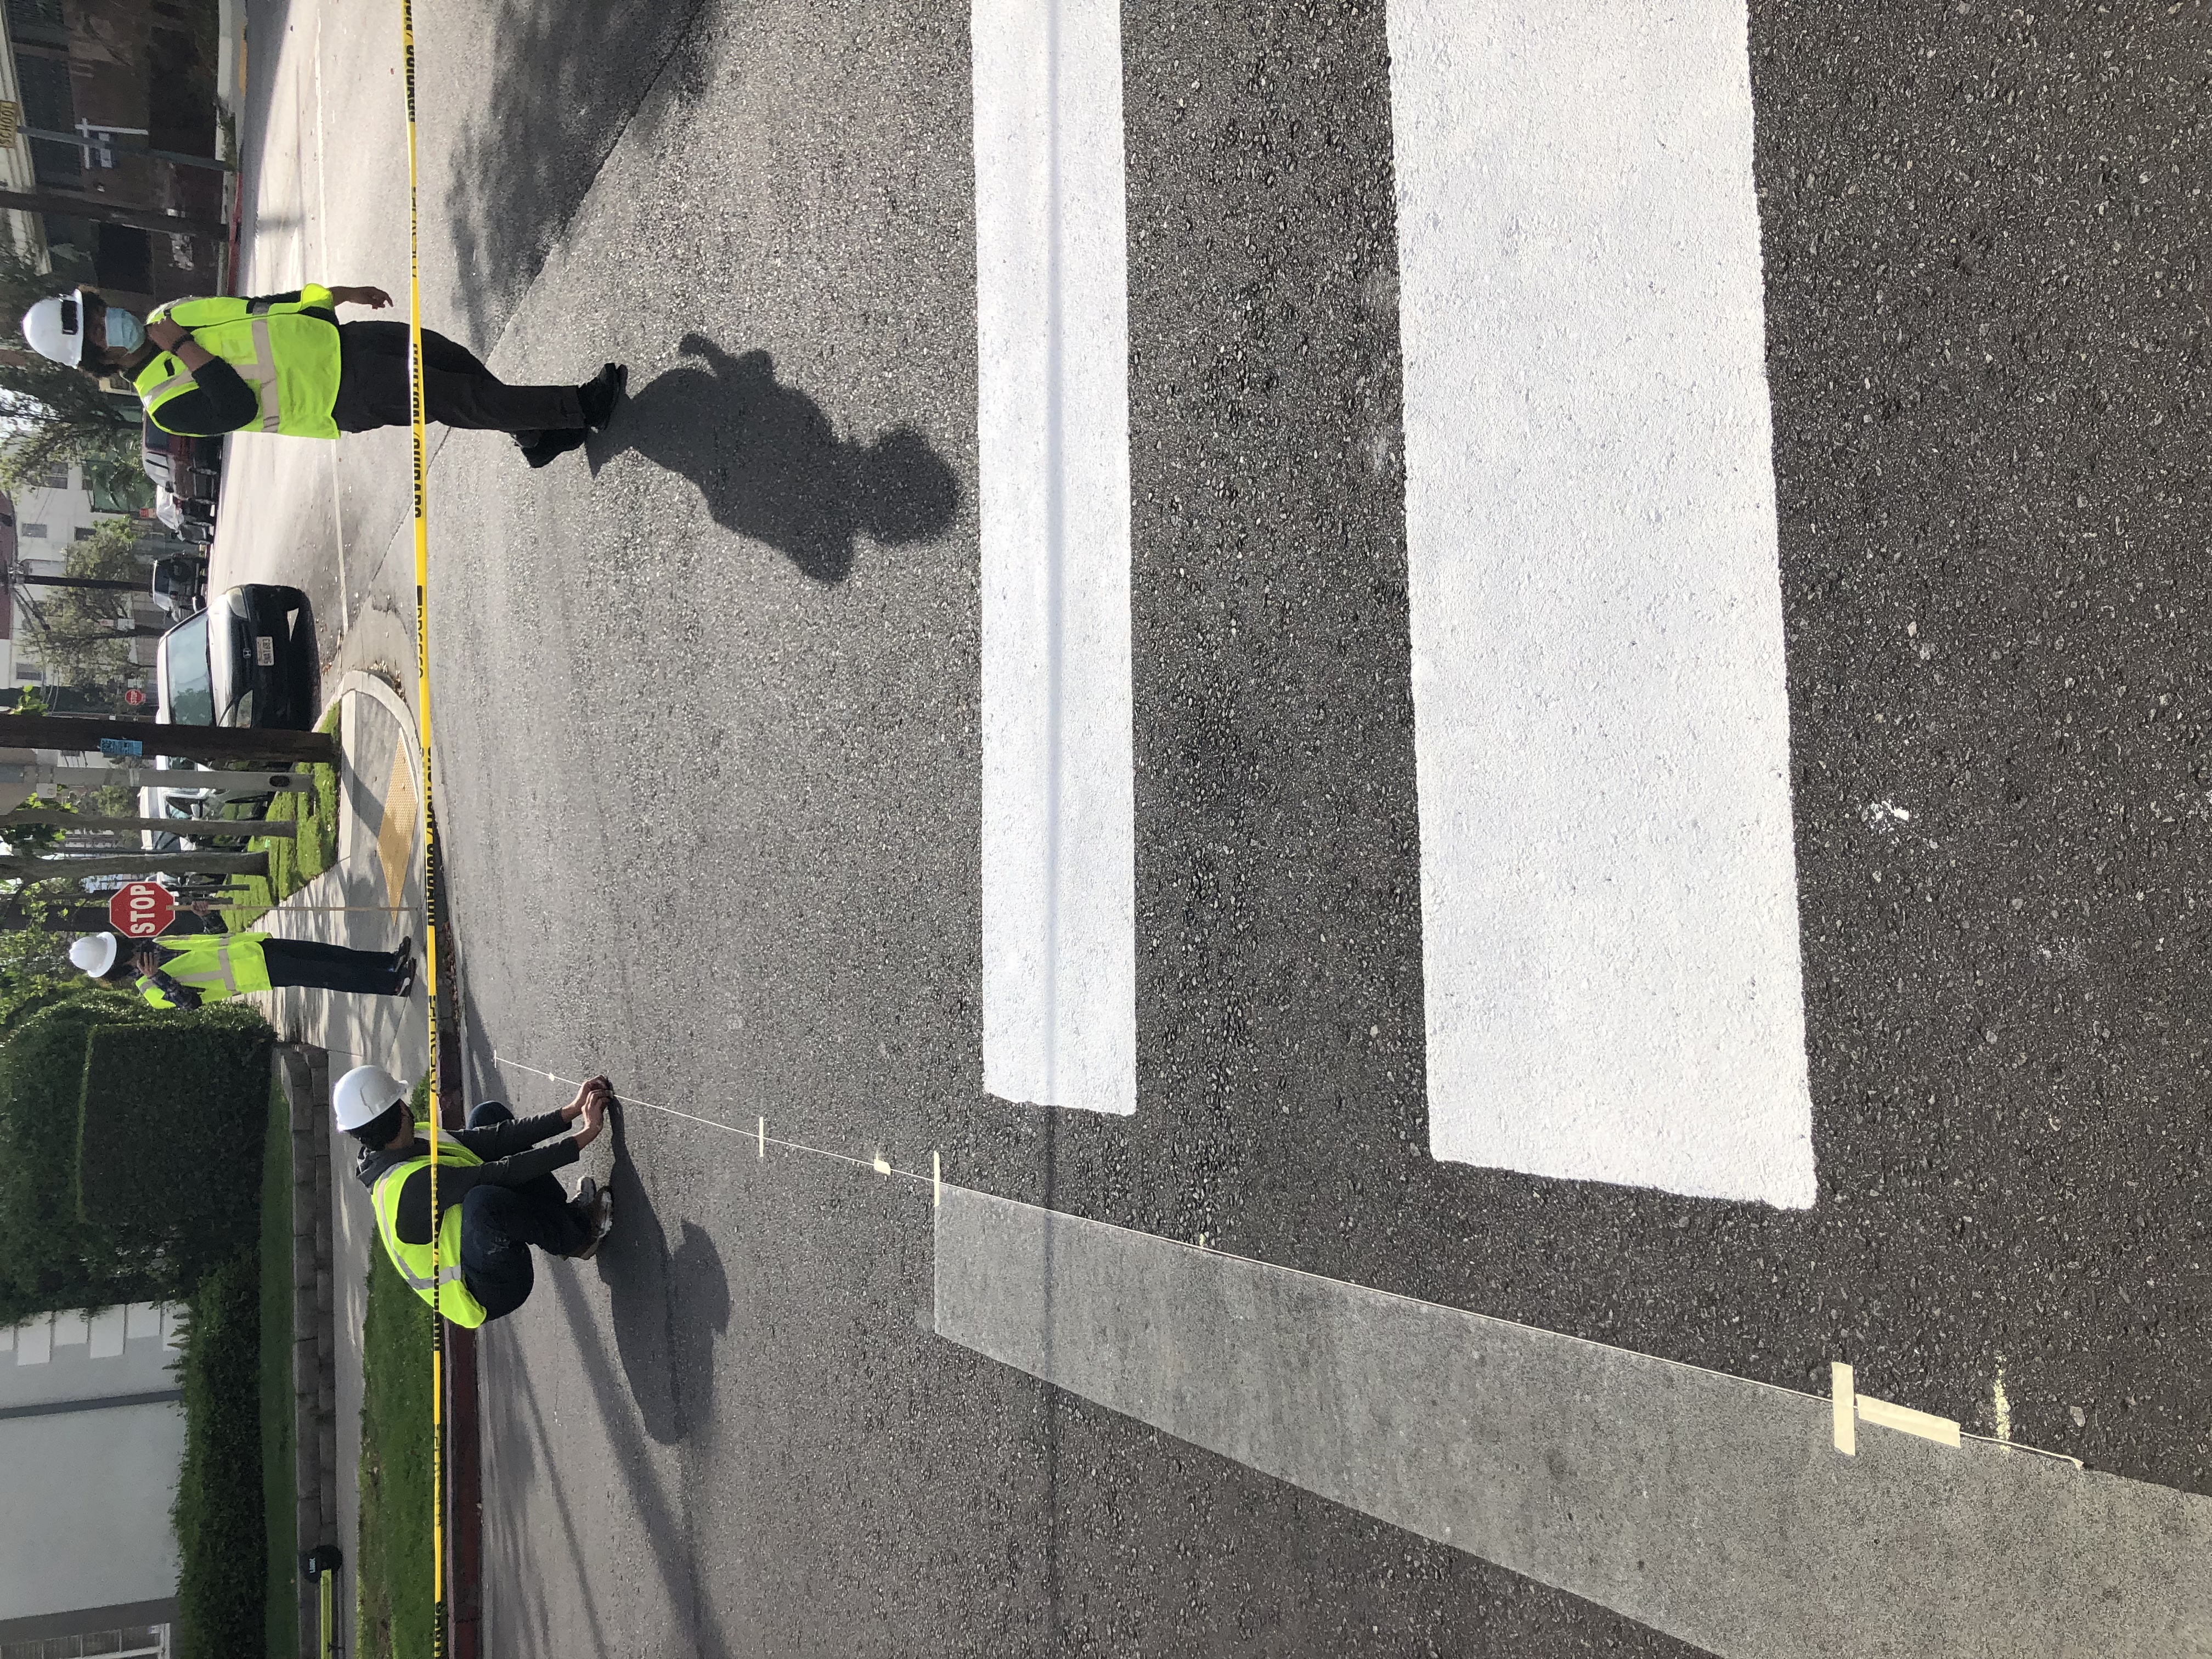
Many streets have what are called stop or limit lines, white painted lines indicating where cars should stop. These serve as helpful guides for lining up your crosswalk stencil. Set your stencil against the line a little way from the curb. Make sure it is straight and hold the corners and sides down using paint cans, other heavy objects, or a participant’s feet.
If there are no stop or limit lines, refer to step 9 below and use string instead.

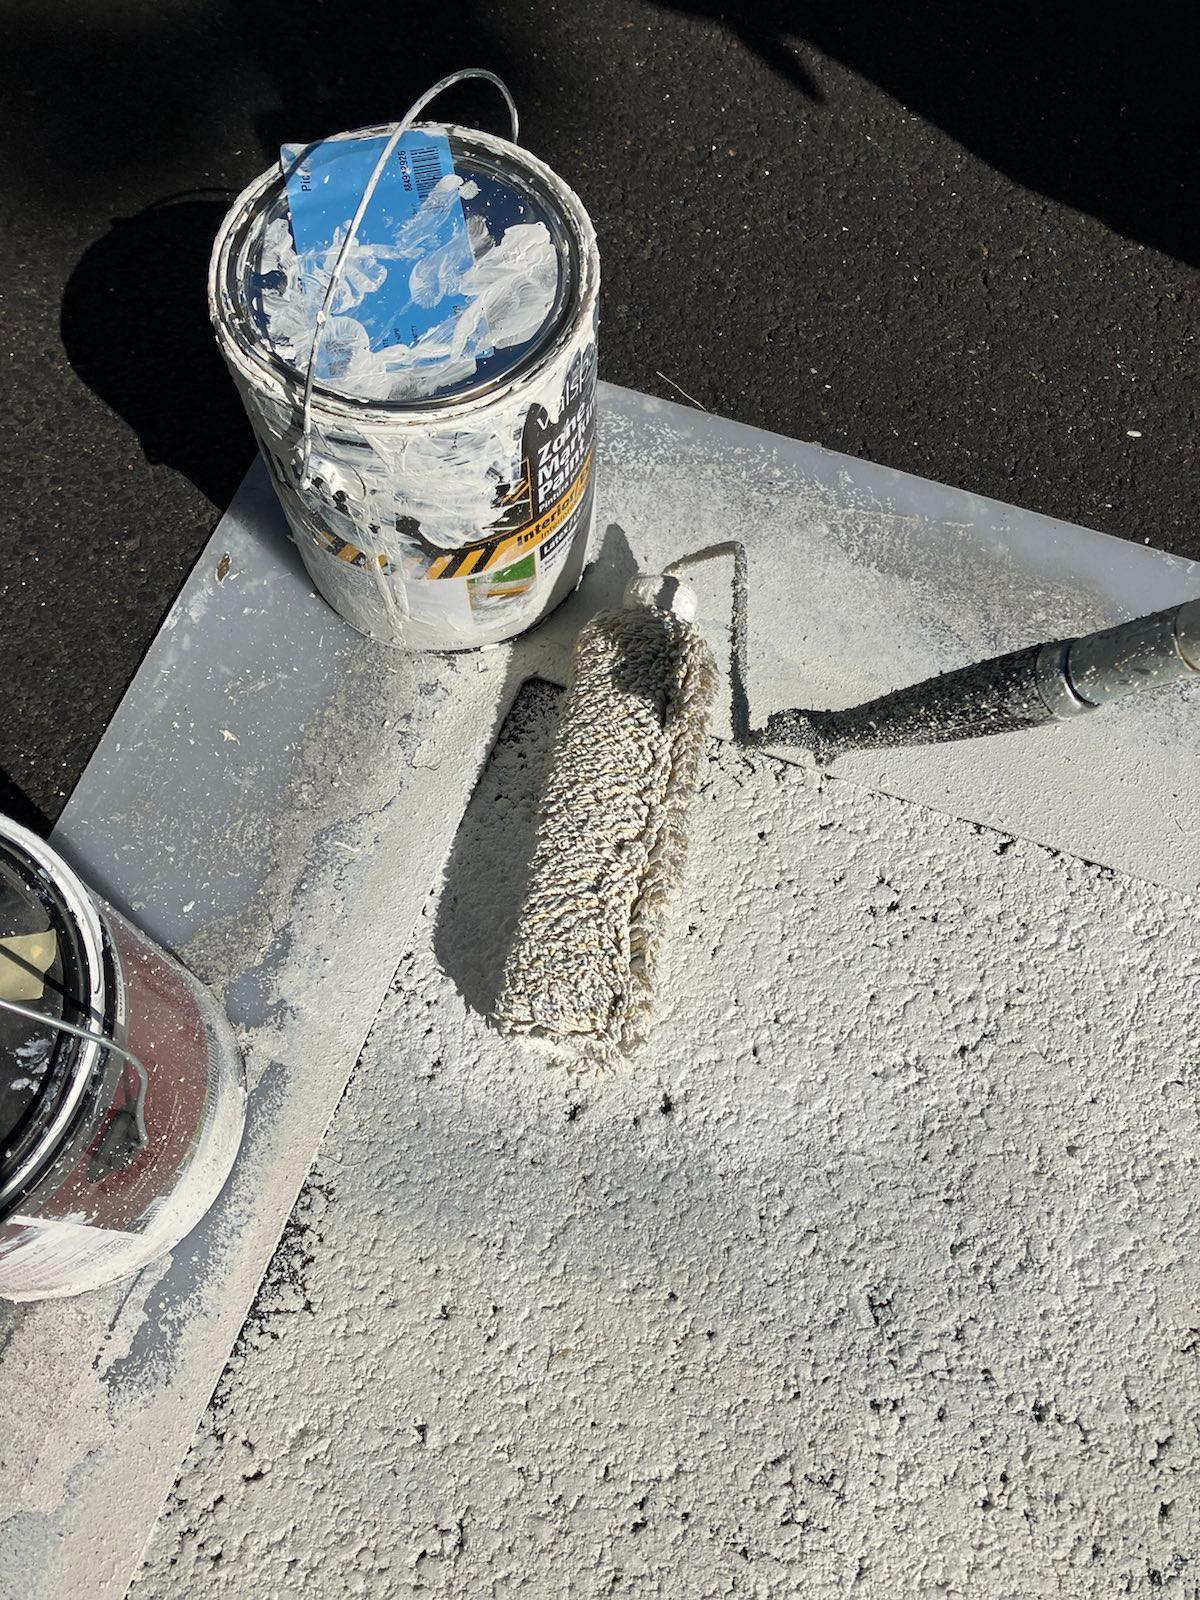
Open, stir, and pour your paint into your paint tray. Put newspaper or cardboard beneath the tray in case of spills. Use your push broom to clear debris if needed. Using your paint roller extension, paint the crosswalk.
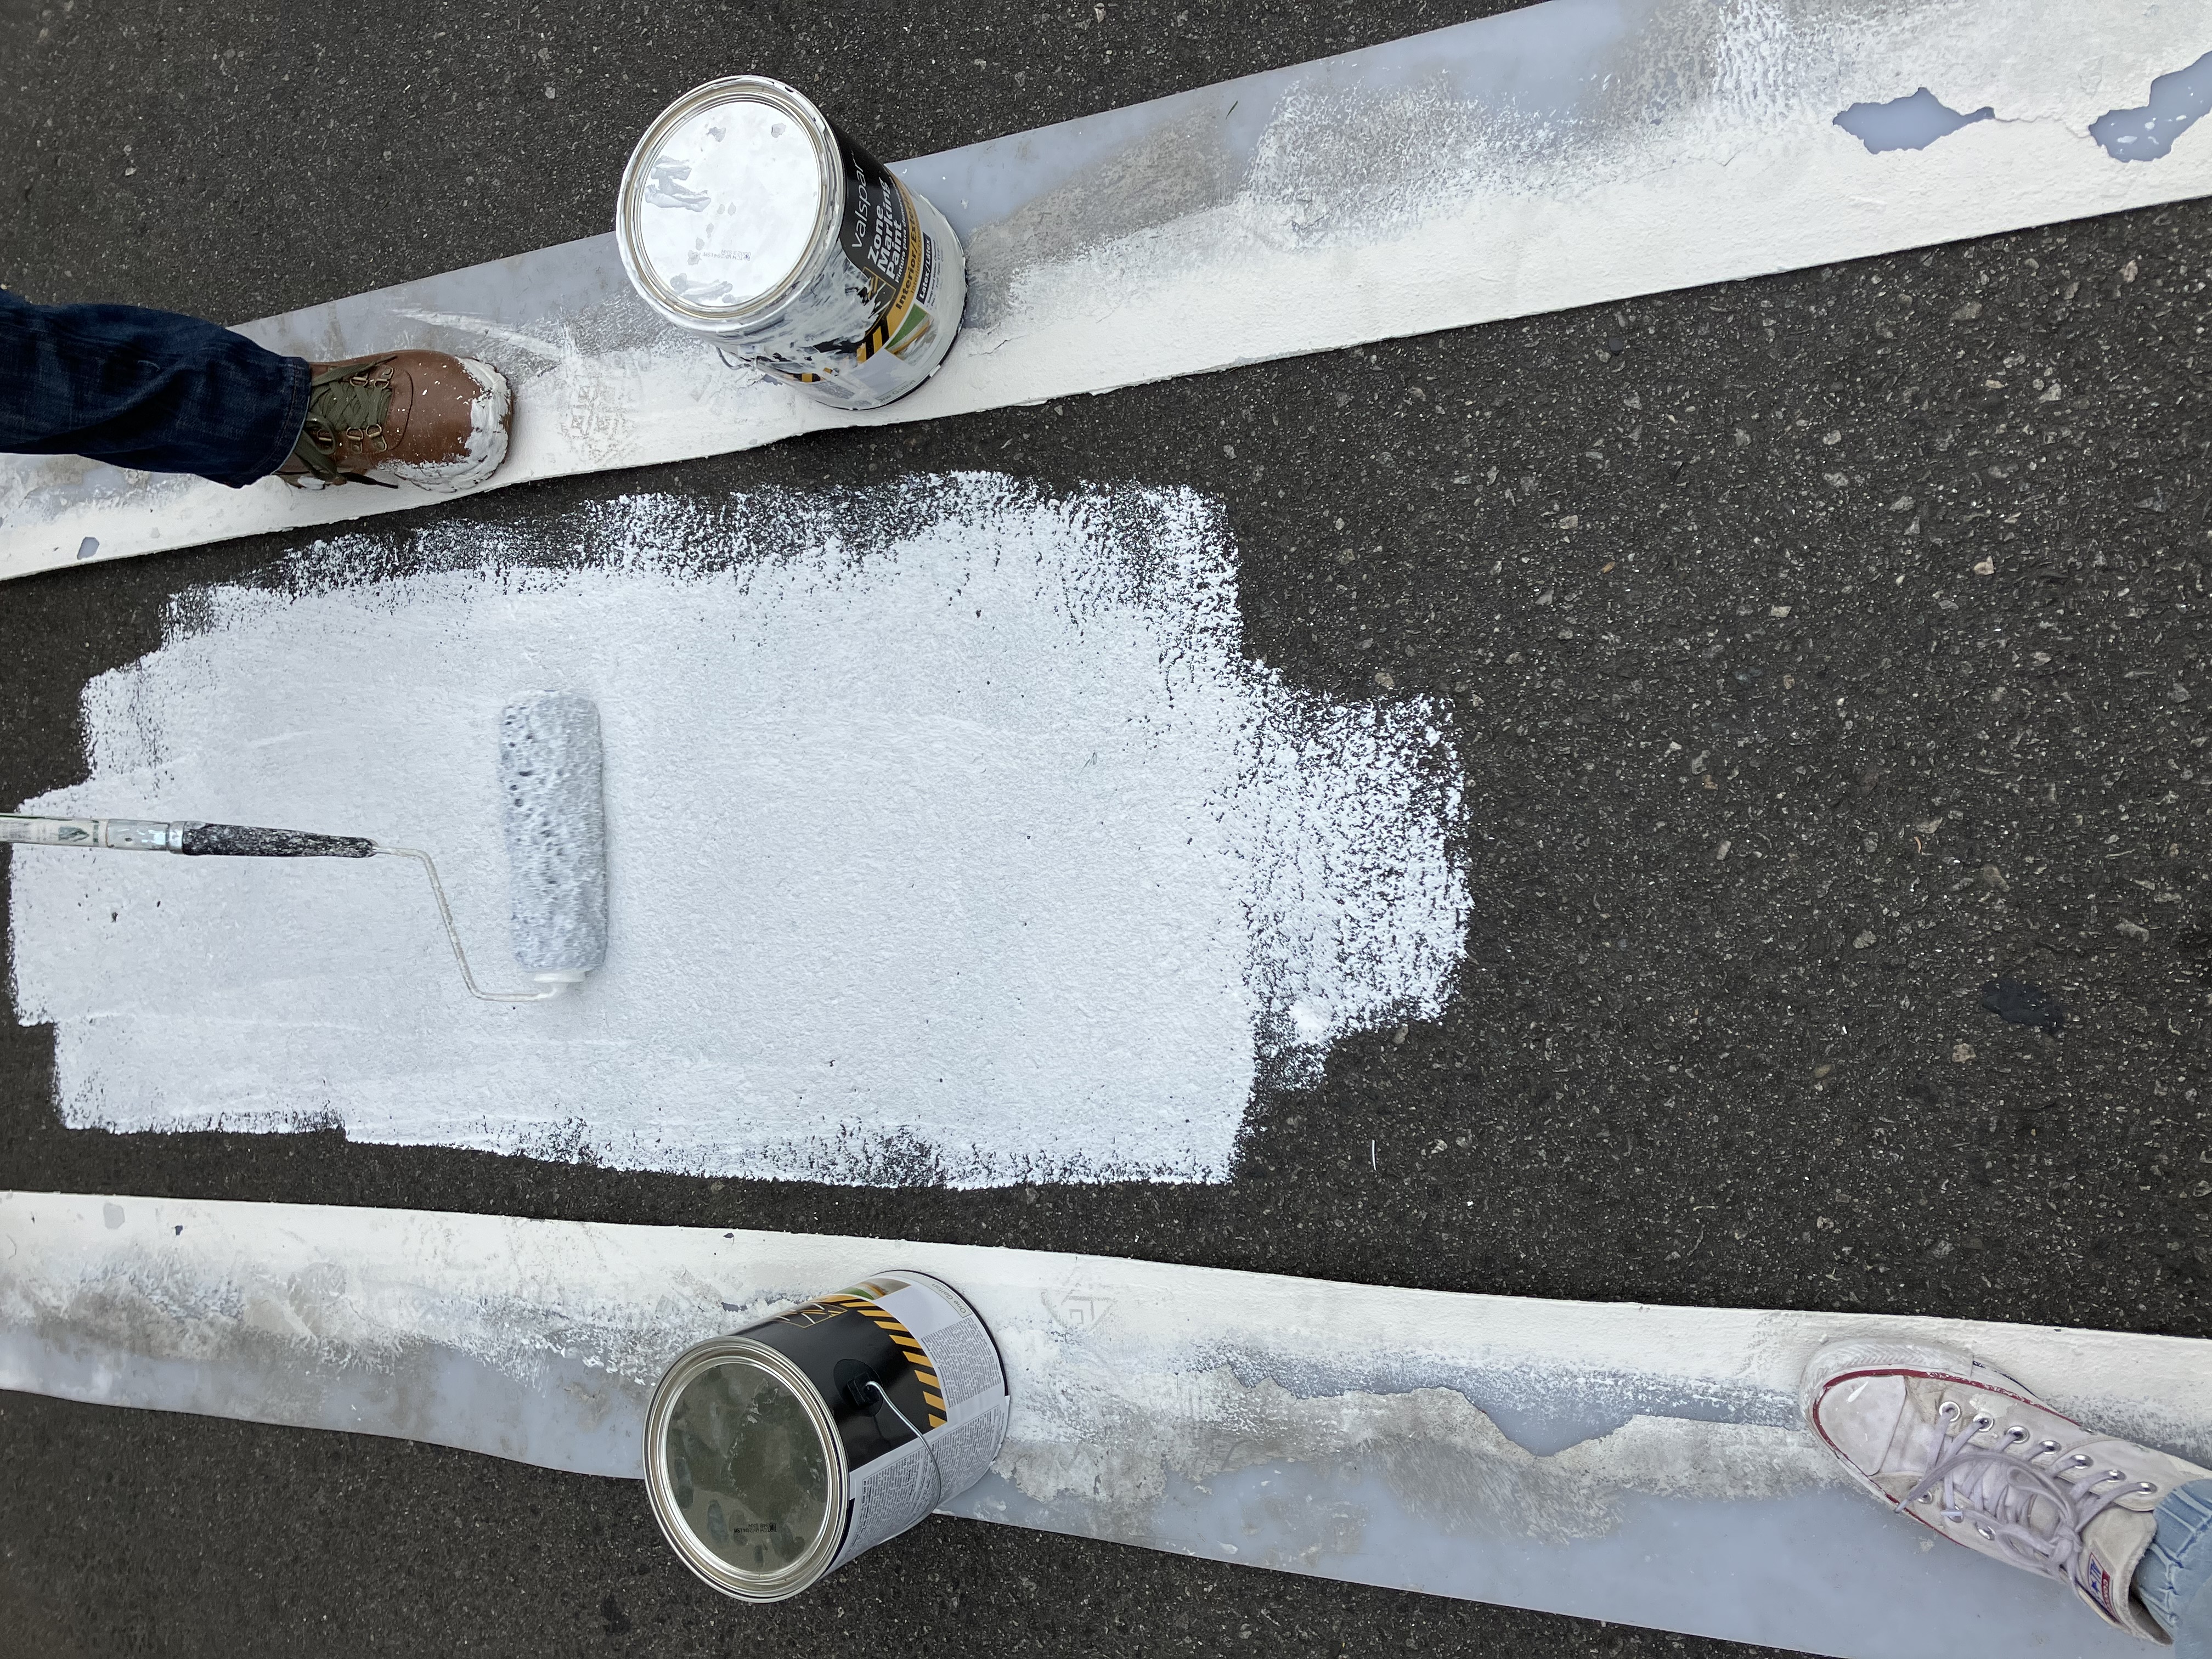
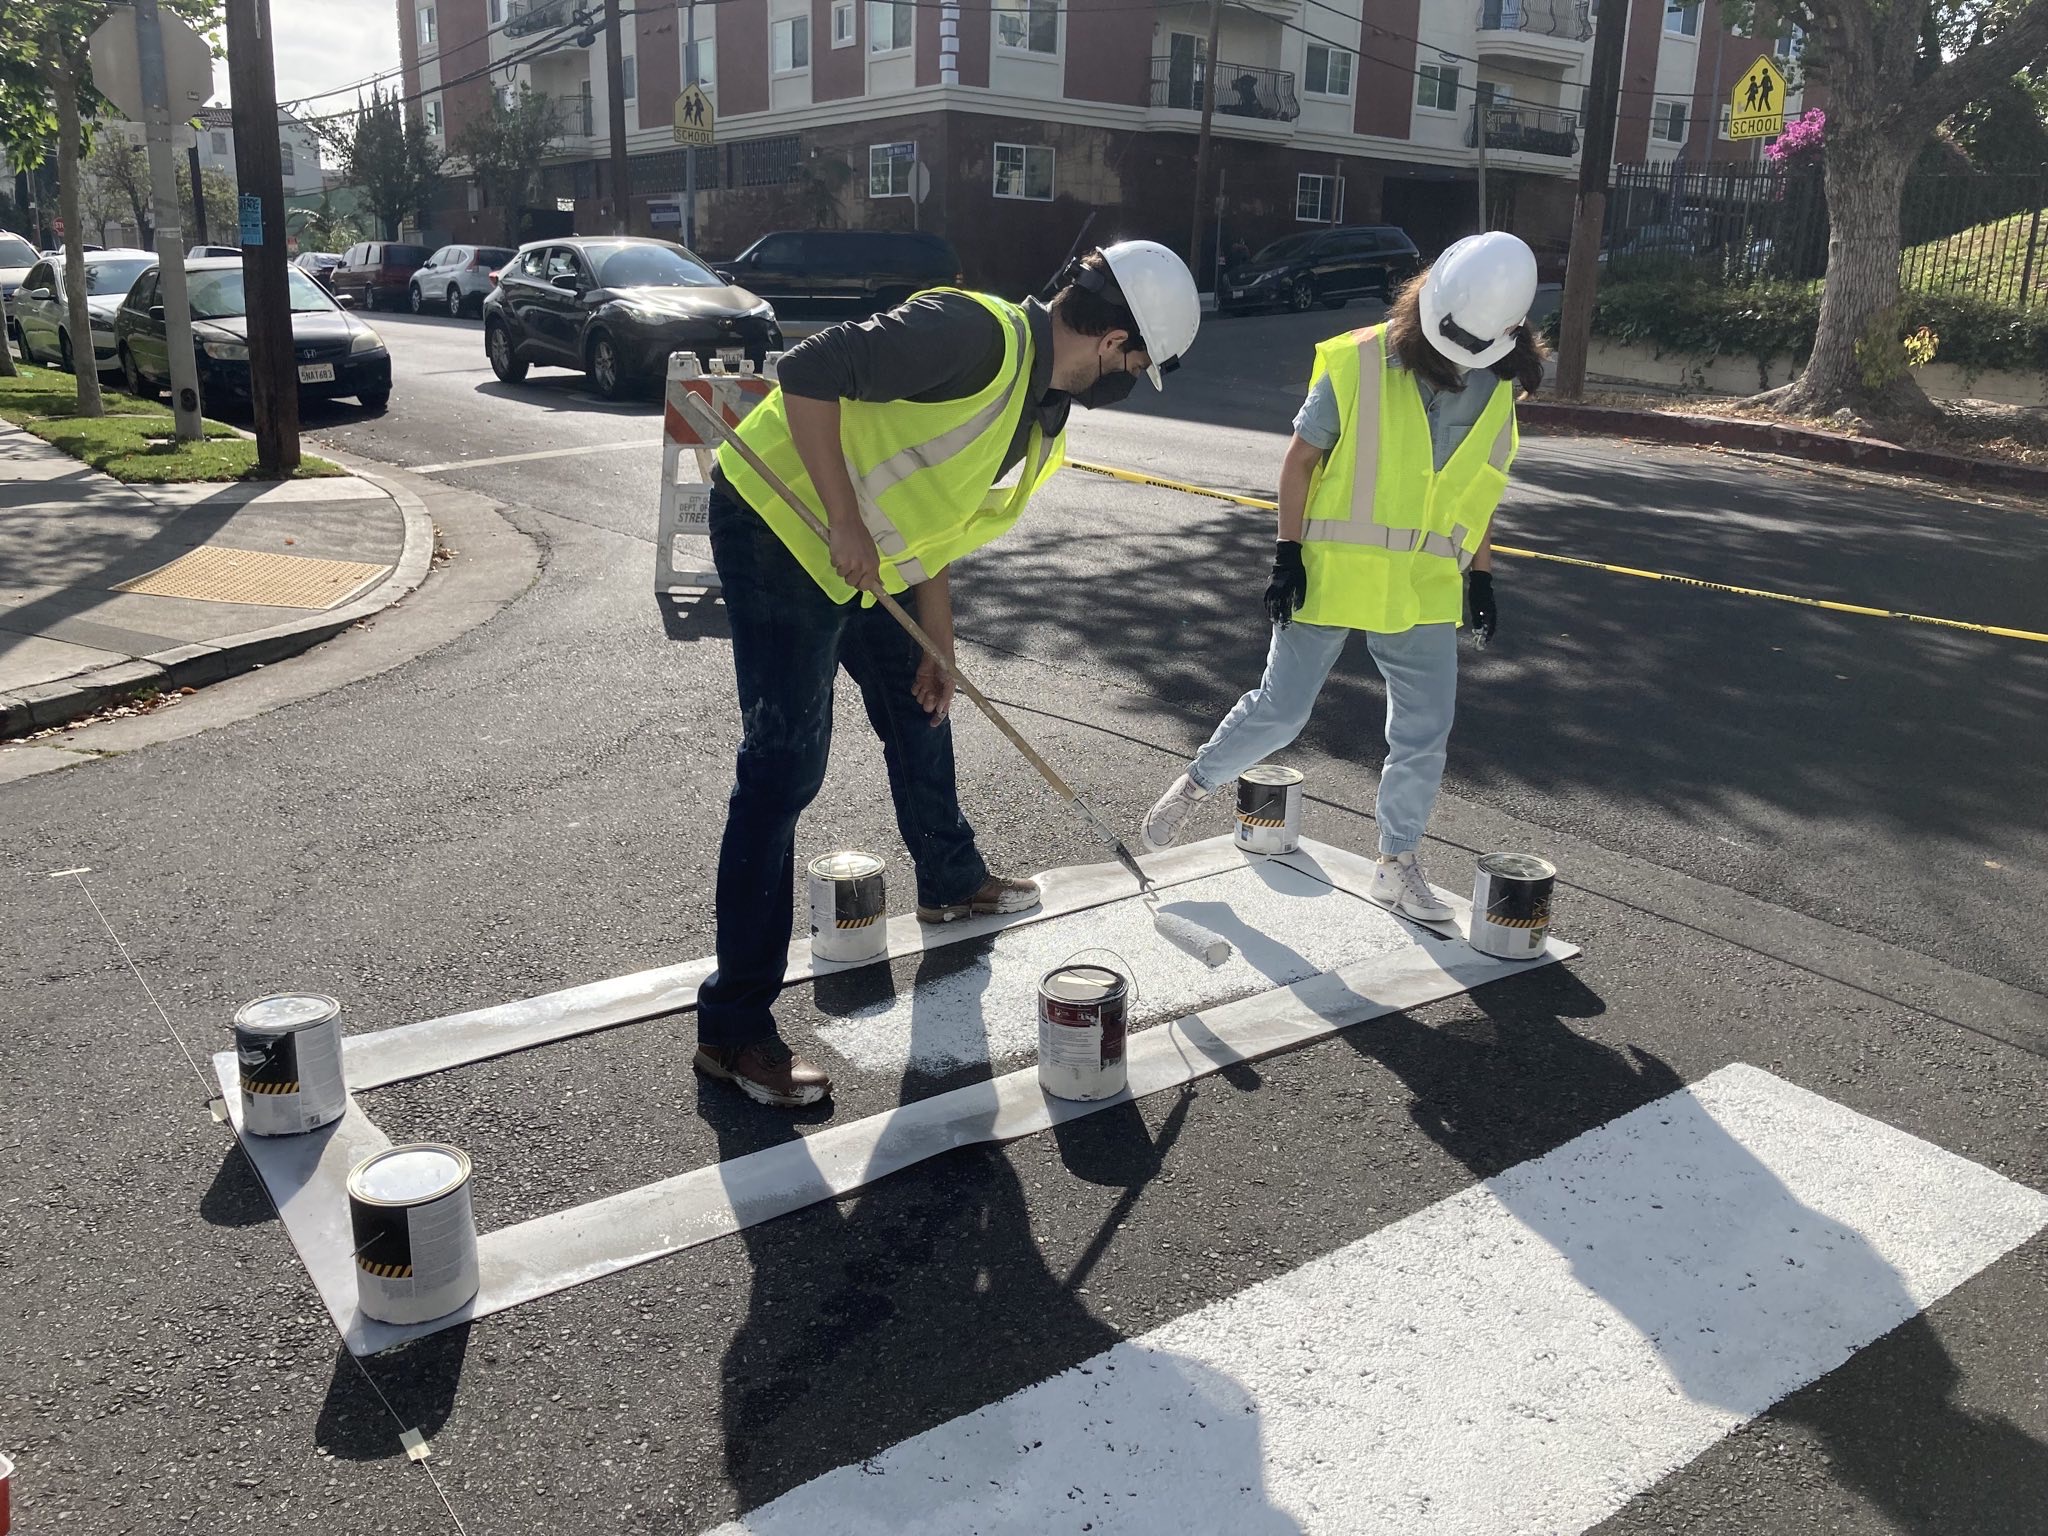
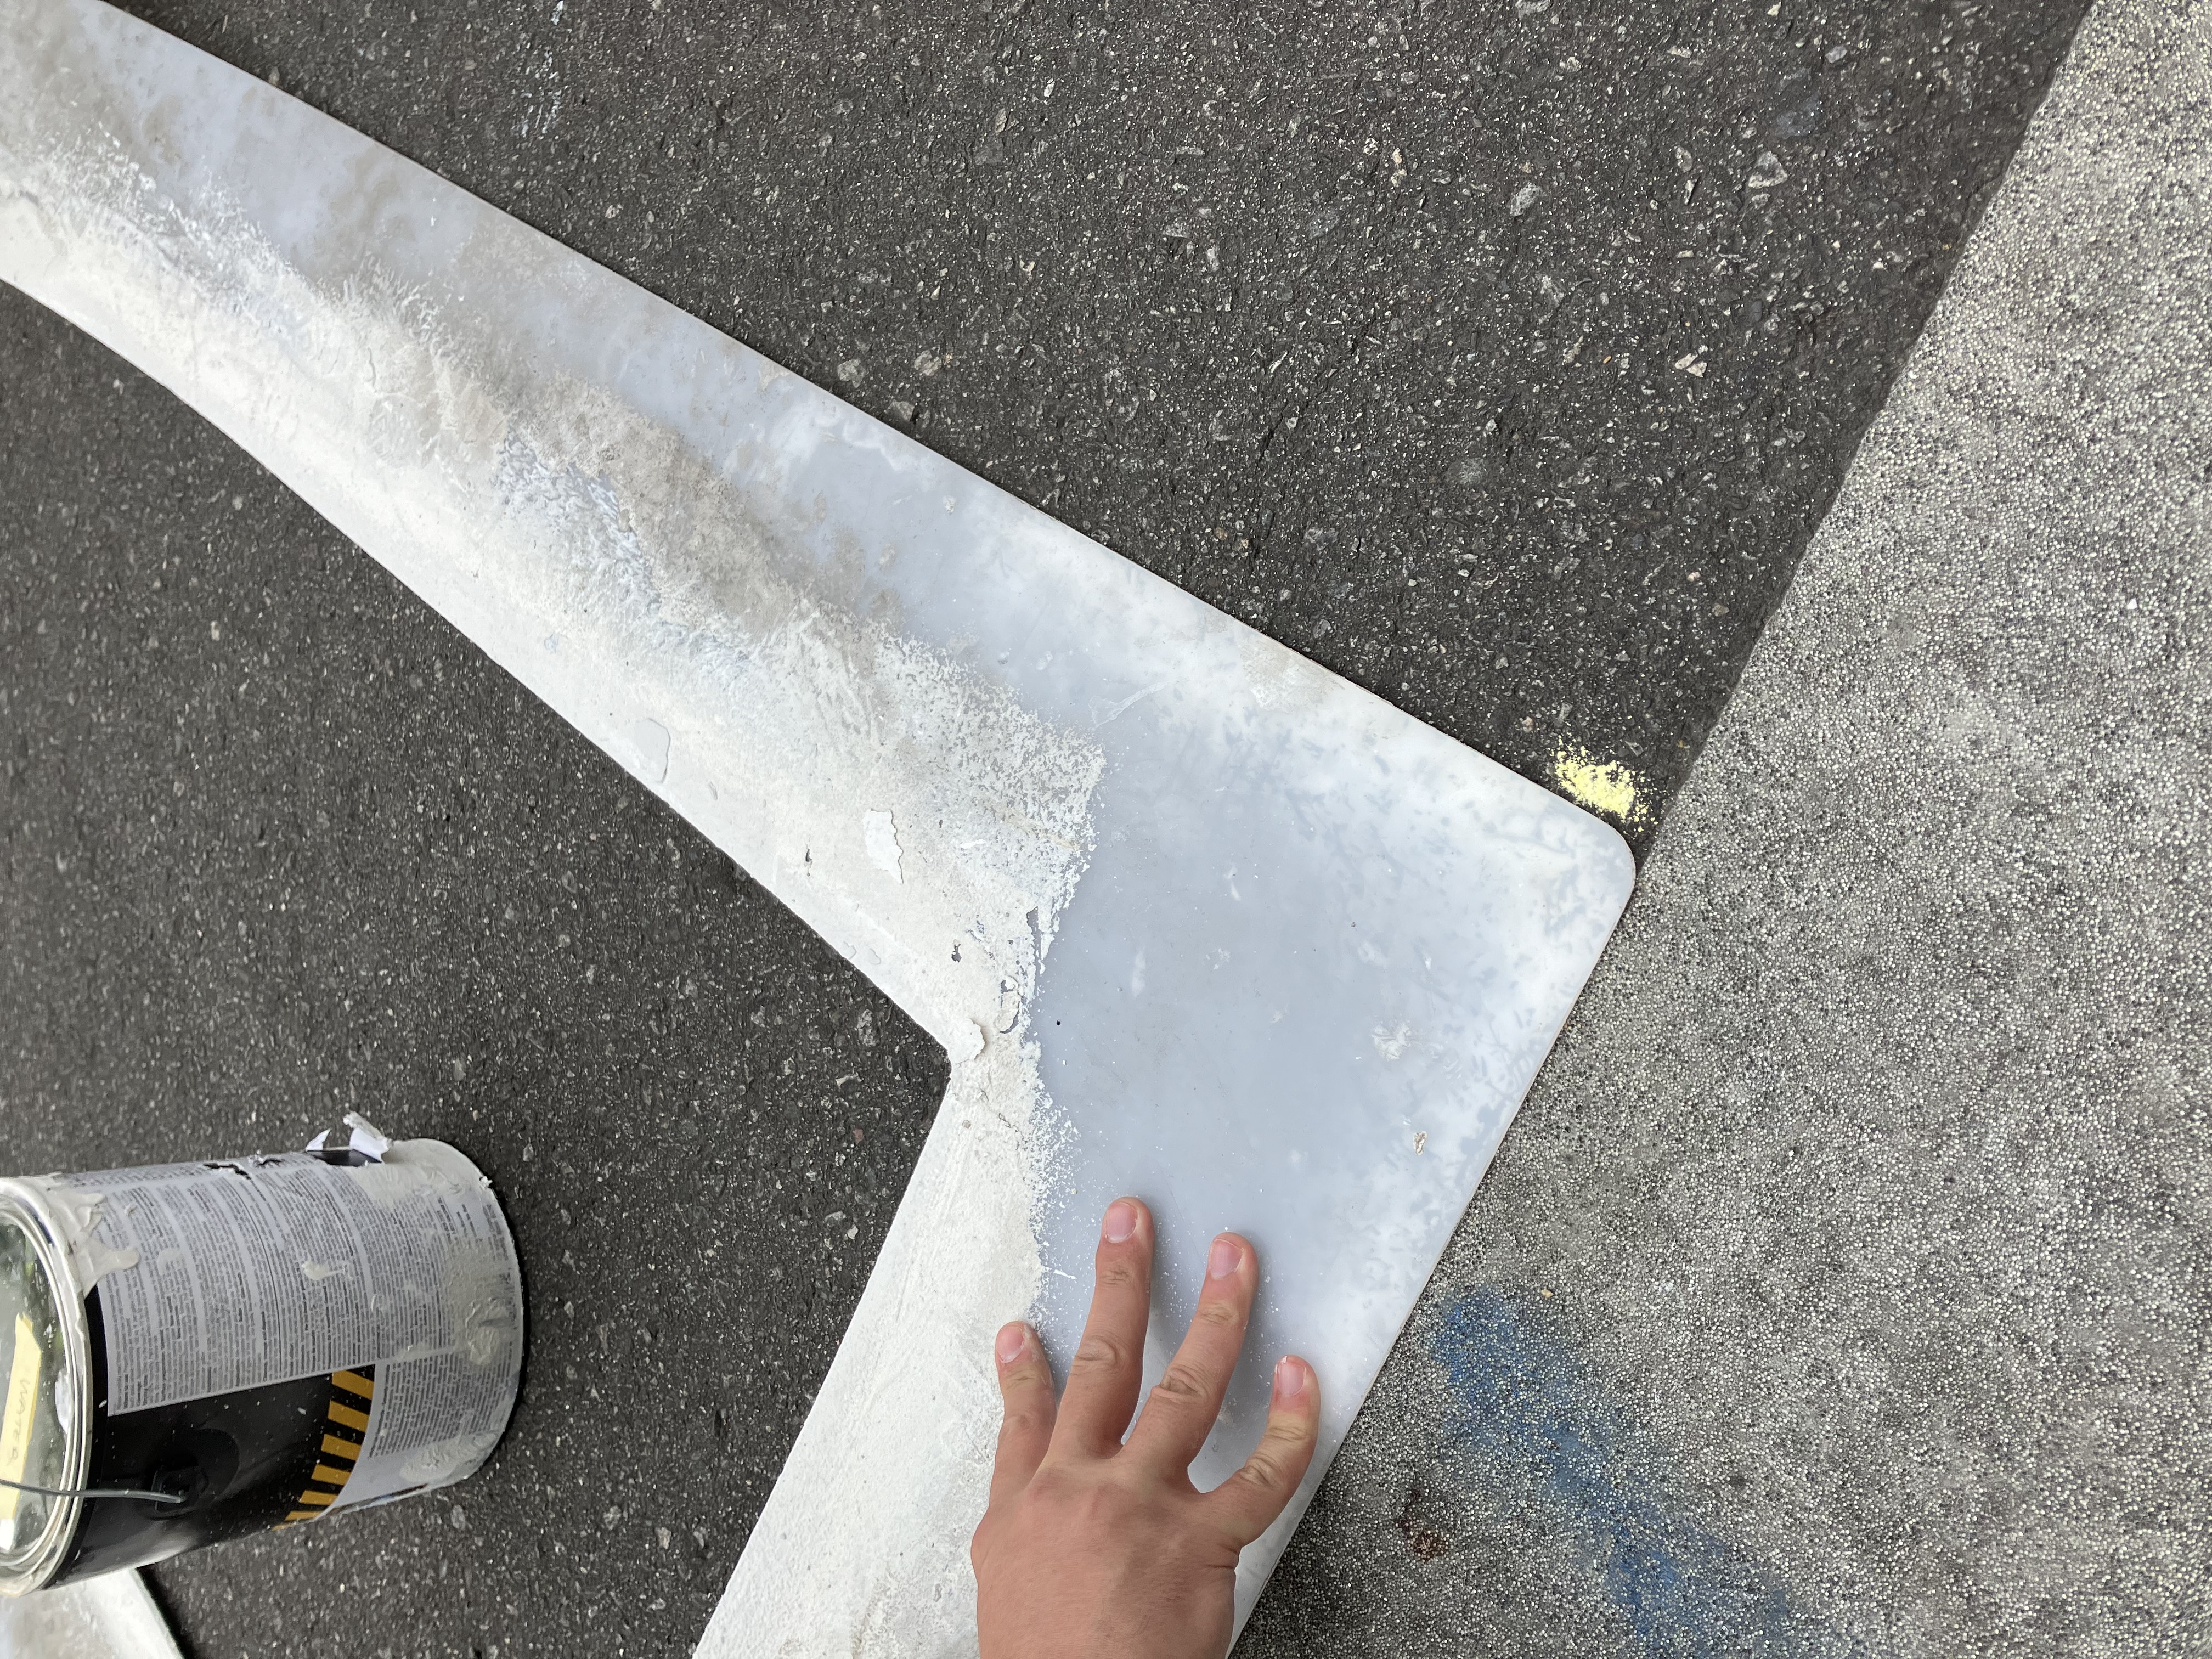
Make sure to get into the edges and corners. As you paint edges and corners, ask another participant to step on the stencil as close to the edge as possible to avoid painting under the stencil.
Without moving the stencil, use a ruler and chalk to measure the location of the next crosswalk bar (if you have enough participants, this can be done while the previous bar is being painted). We measure 15 inches — this starts from the outside of the stencil and goes to where the outside of the stencil will next be placed, giving you about 2.5 feet between crosswalk bars.
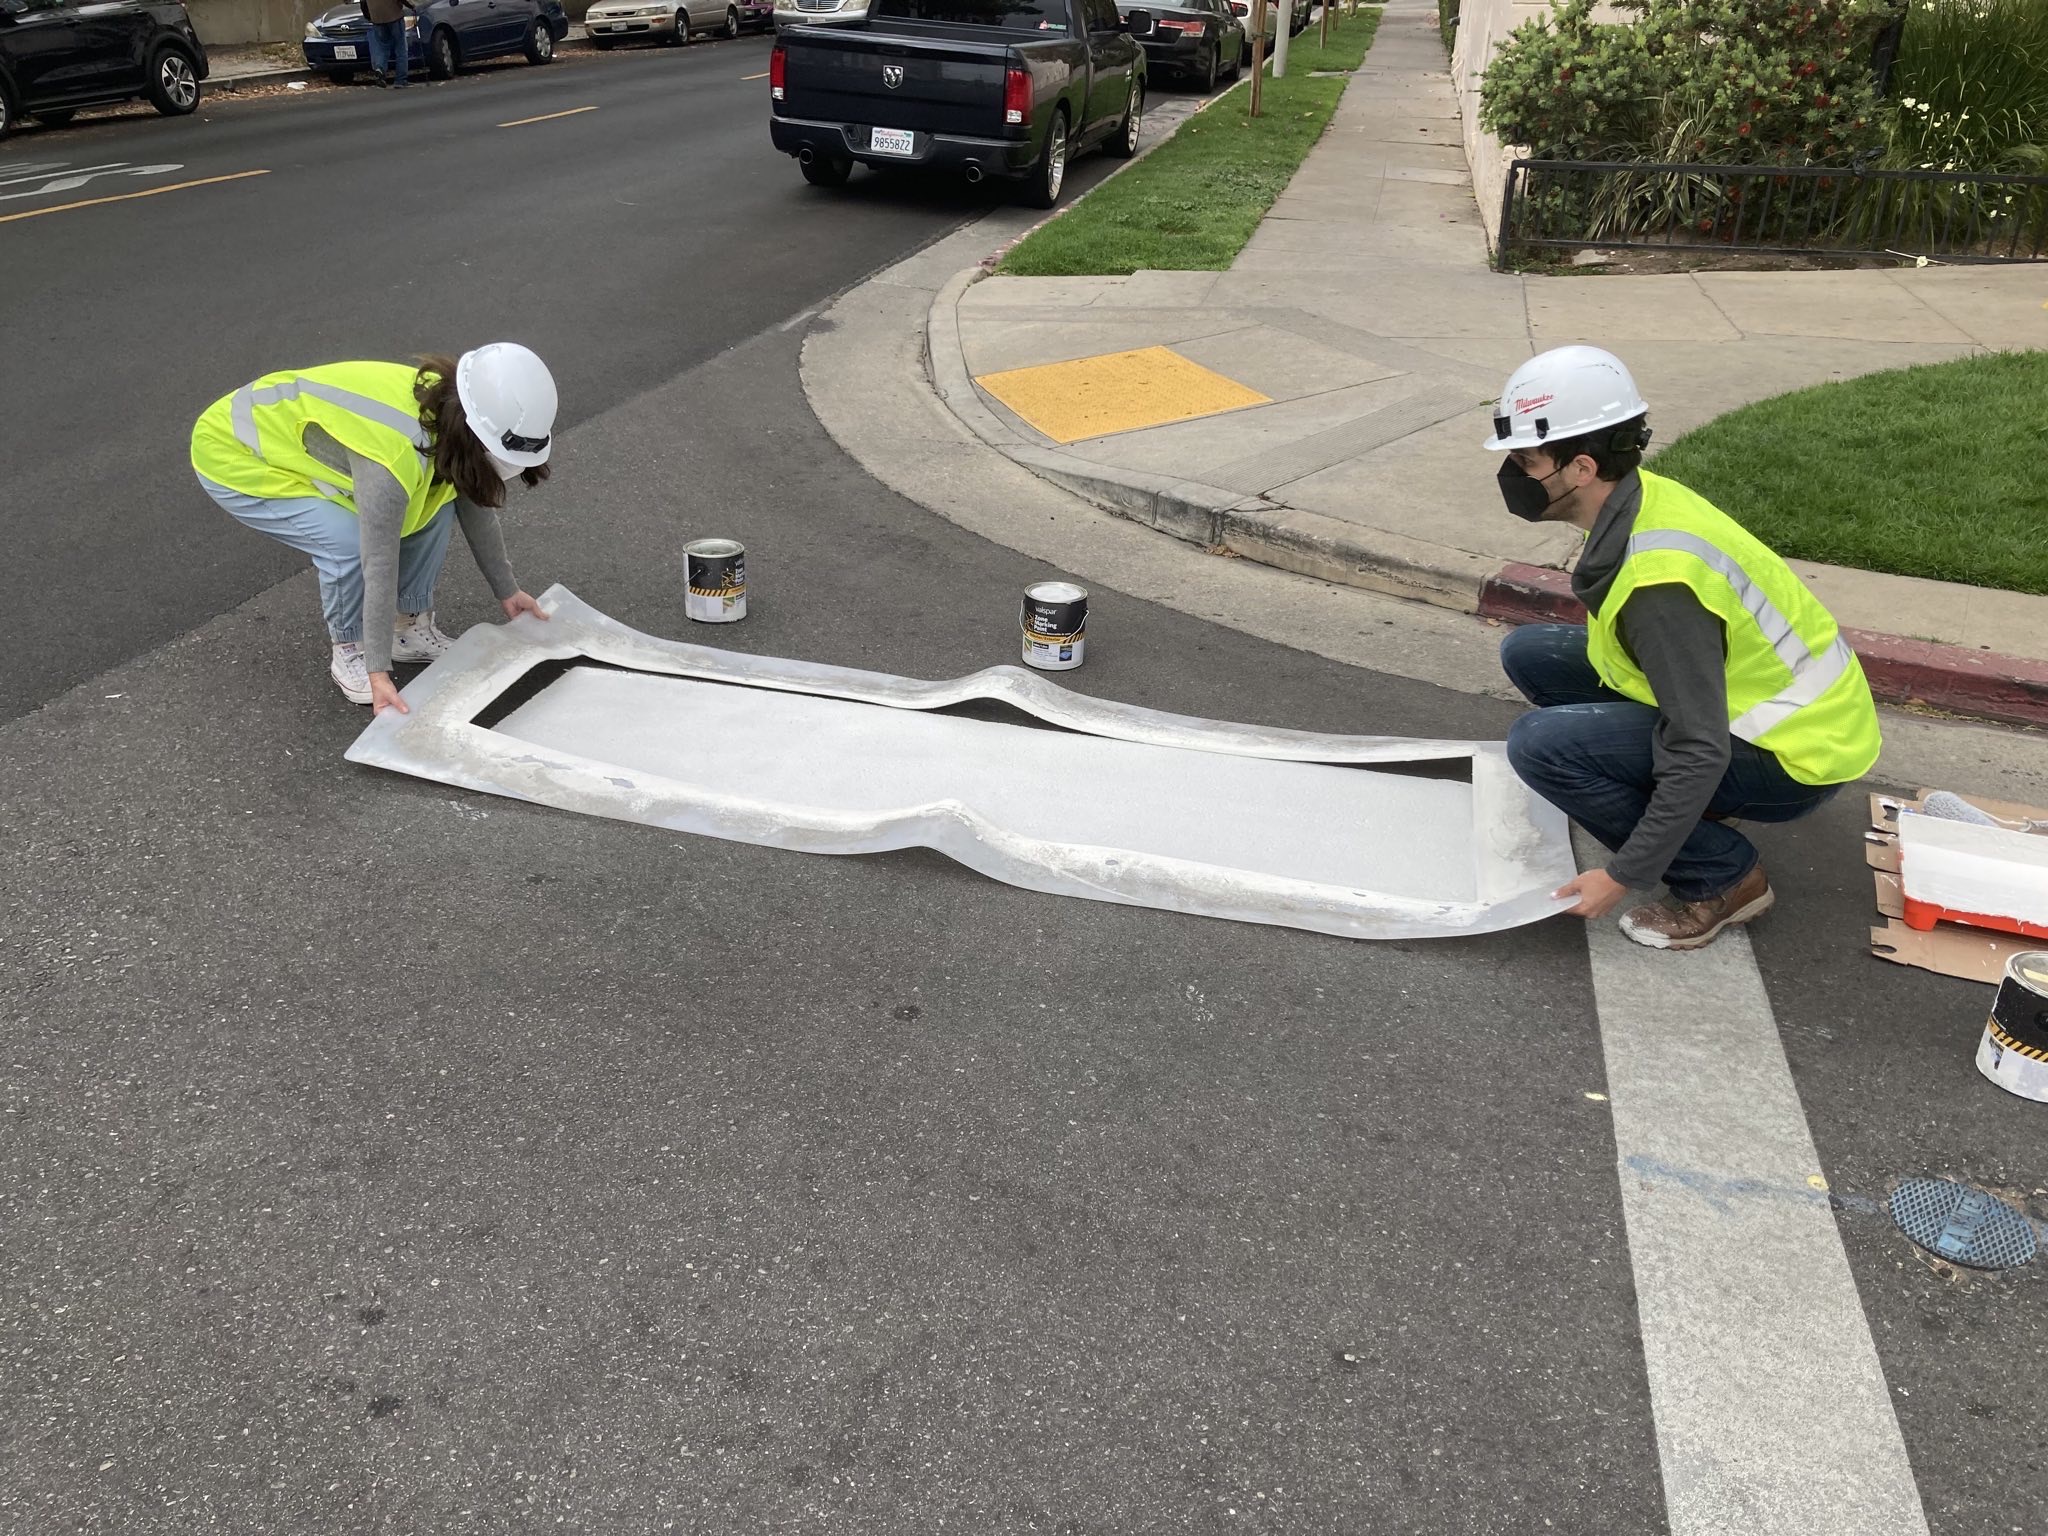
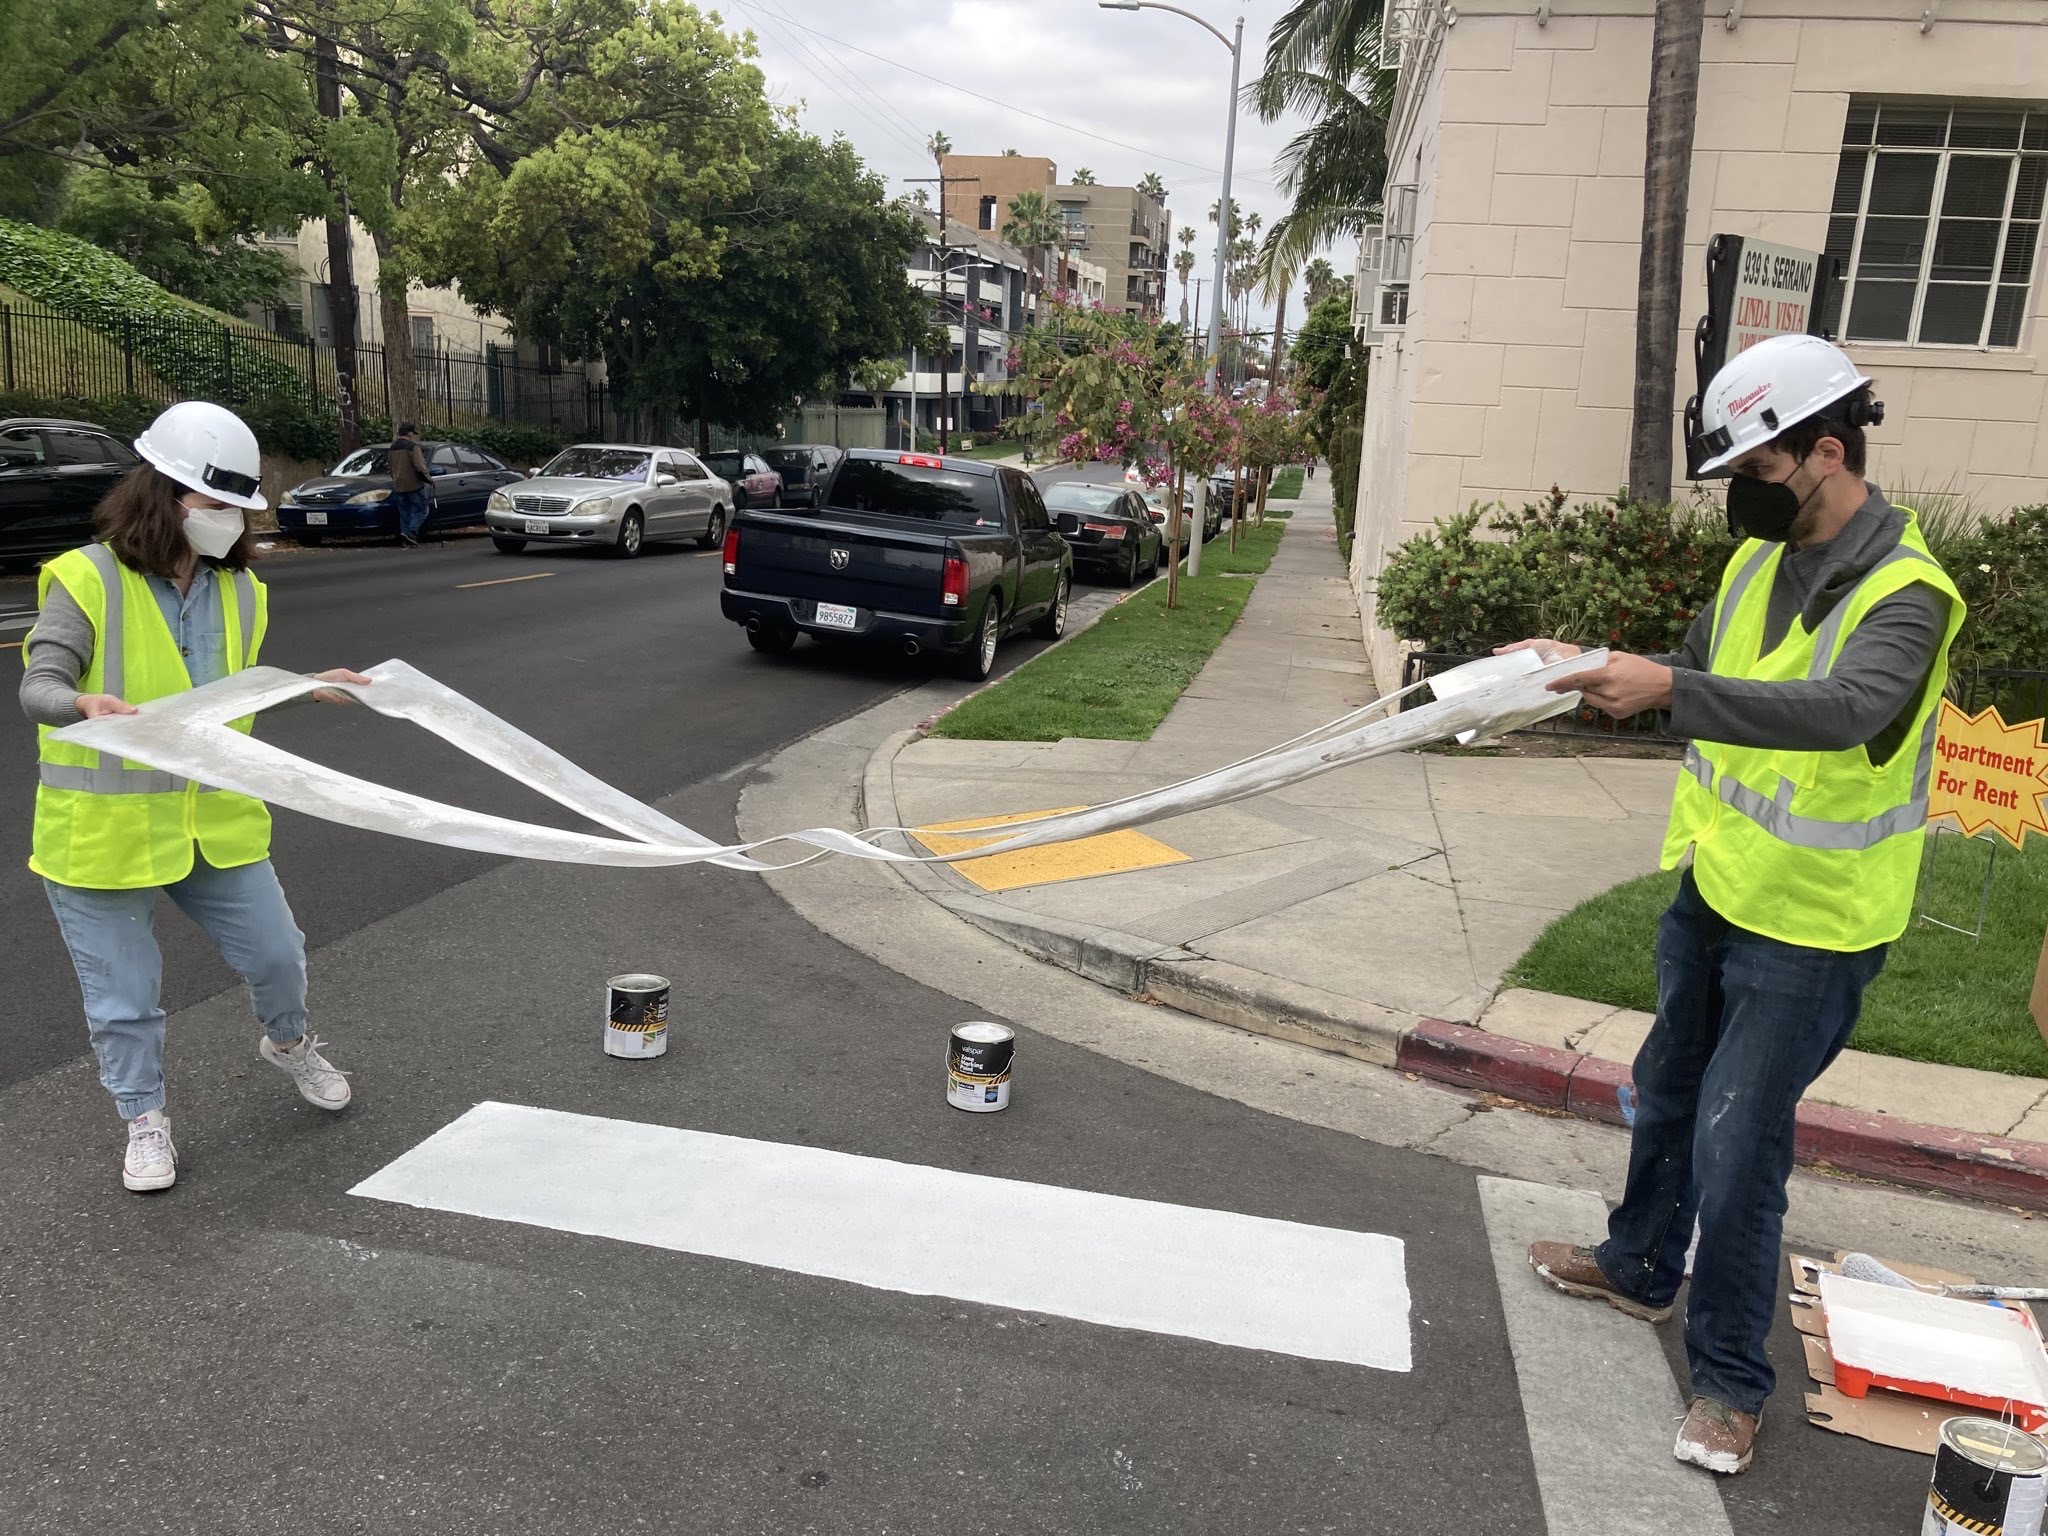
Remove the heavy objects holding the stencil. Using two people, lift the stencil from each end and place it in the next spot. (Be careful when moving the stencil and paint cans that you place the cans out of the way to avoid spills.) Replace the heavy objects, making sure the stencil is properly aligned.
Paint and repeat until you have half the street done.
Stop for 15 minutes to let the crosswalk bars fully dry (note: drying time will depend on the type of paint you are using; we recommend the quickest-drying you can find).
Move your traffic barricades to the other side. The stop line you used as a guide extends only halfway across the street. Use a piece of string to create a temporary line extension; tape it down with masking tape. Continue to measure and place your stencil as before. Paint the remaining bars, then wait 15 minutes for them to dry.
While the last bars are drying, pack up all materials, making sure you take any trash with you including the string you taped down. Continue to manage traffic until paint is dry.
The first vehicles that will drive over your new crosswalks will leave visible tire marks. Do not worry! This is normal, even if the paint is fully dry.